
Our latest bedroom update is probably my favourite addition we’ve made to our home…and probably the easiest!
I’ve seen the idea in lots of places but didn’t really get the urge to add some to our home until we went to Paris and the little hotel room we stayed in was made completely beautiful by some very simple panelling. I gave the hotel interior (and amazing balcony view) it’s own dedicated blog post – you can read here.
I wasn’t going to do a step by step how to but I’ve had people message me for advice and so if only to help a few here it is!
Having the right tools makes this job straight forward, we already had what we needed after having purchased them for our en suite makeover, so if you don’t you may need to invest more money for the convenience.
You will need:
A long spirit level (ours is a 2m) – pencil – tape measure – mitre – hand held saw – wood adhesive – paint – paint brush.
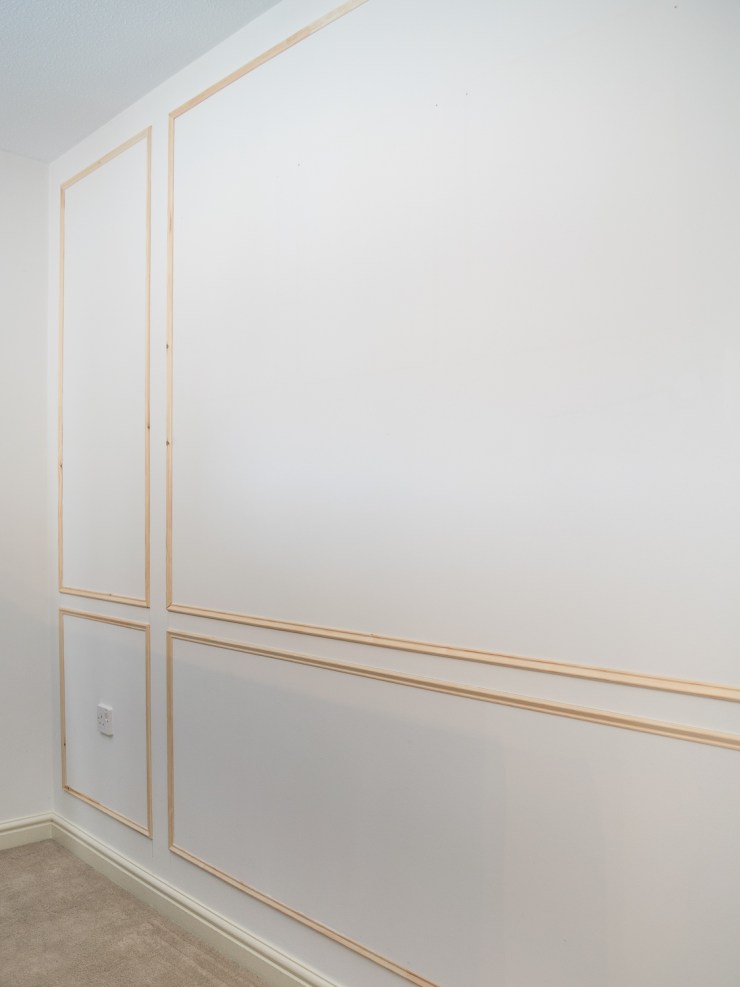
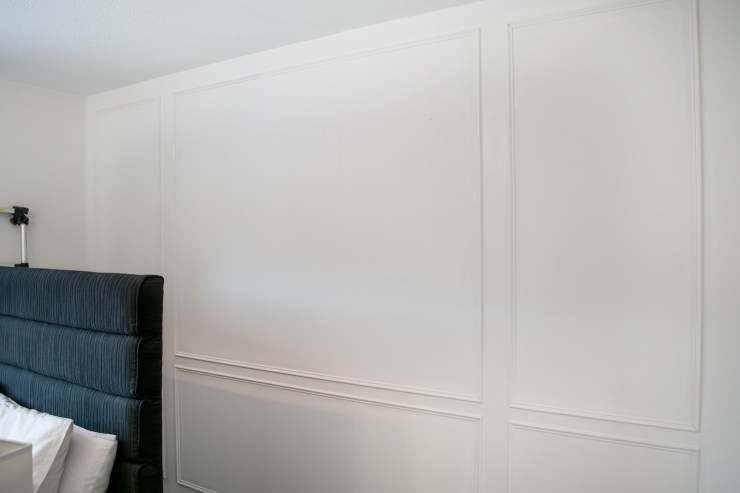
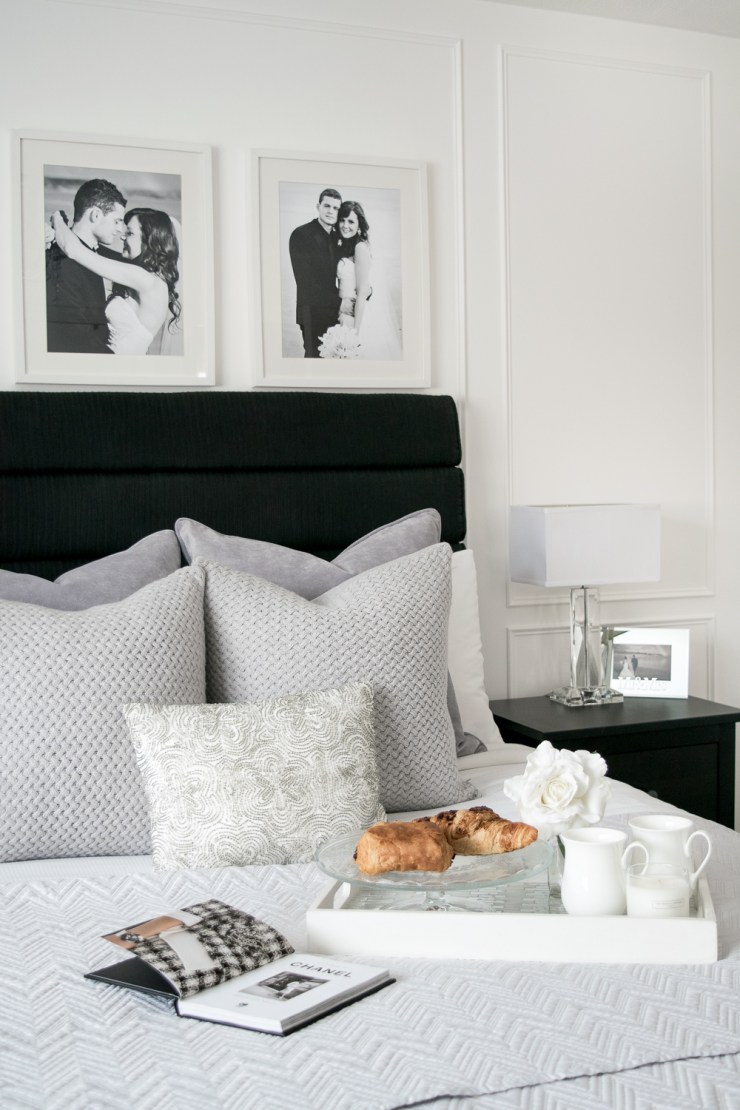
First of all you need to think over your design, how many panels do you want, what size… work around any furniture you know will be staying there long term, like we created the centre panel around the bed and made it slightly wider to frame the headboard and picture frames. At this point you need to decide on exact measurements and how much distance you want between your panels. I just eyeballed what looked right to me, which was 10cm between each panel side to side and 5cm between the top and bottom panels.
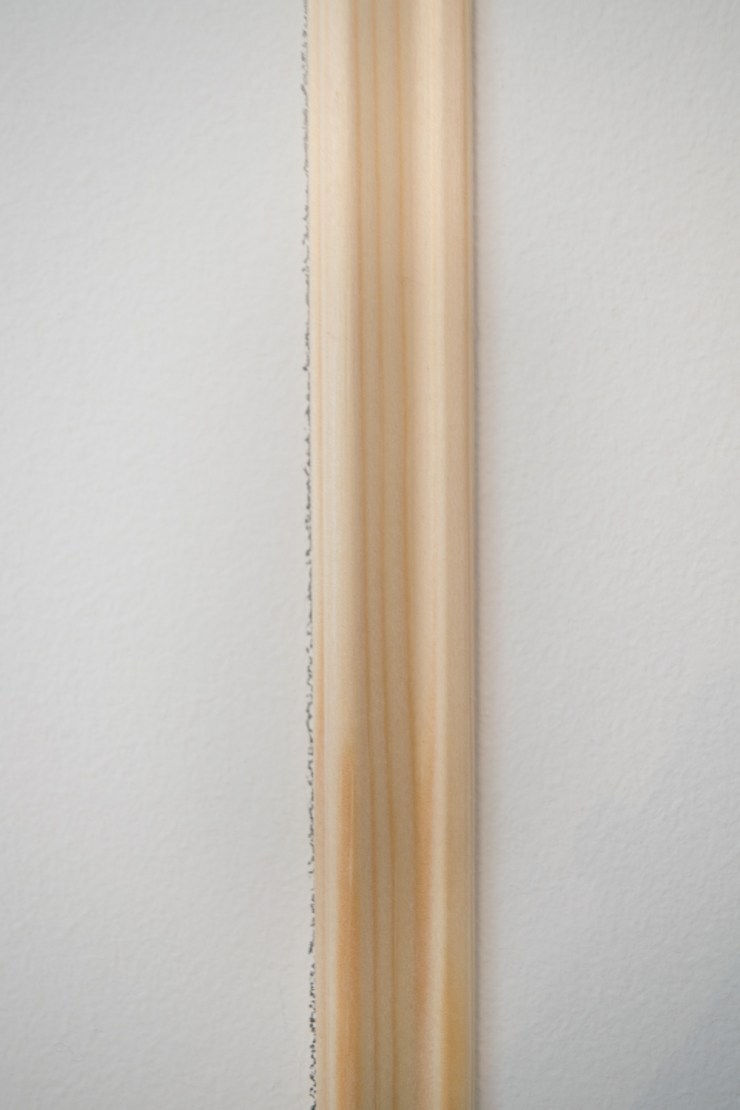
Then stencil the design onto the wall using a spirit level and a pencil, take extra care that everything is completely straight, it’s worth triple checking!

Add up all the lengths of your stencil to work out how much wood moulding you need to purchase, baring in mind they come in certain lengths and you don’t want a cut mid length. We search around B&Q, our local builders yard and Homebase until we eventually found the shape and width we were happy with. I really wanted to keep the look quite dainty and not too heavy and so went for a thinner option with a subtle rounded edge.
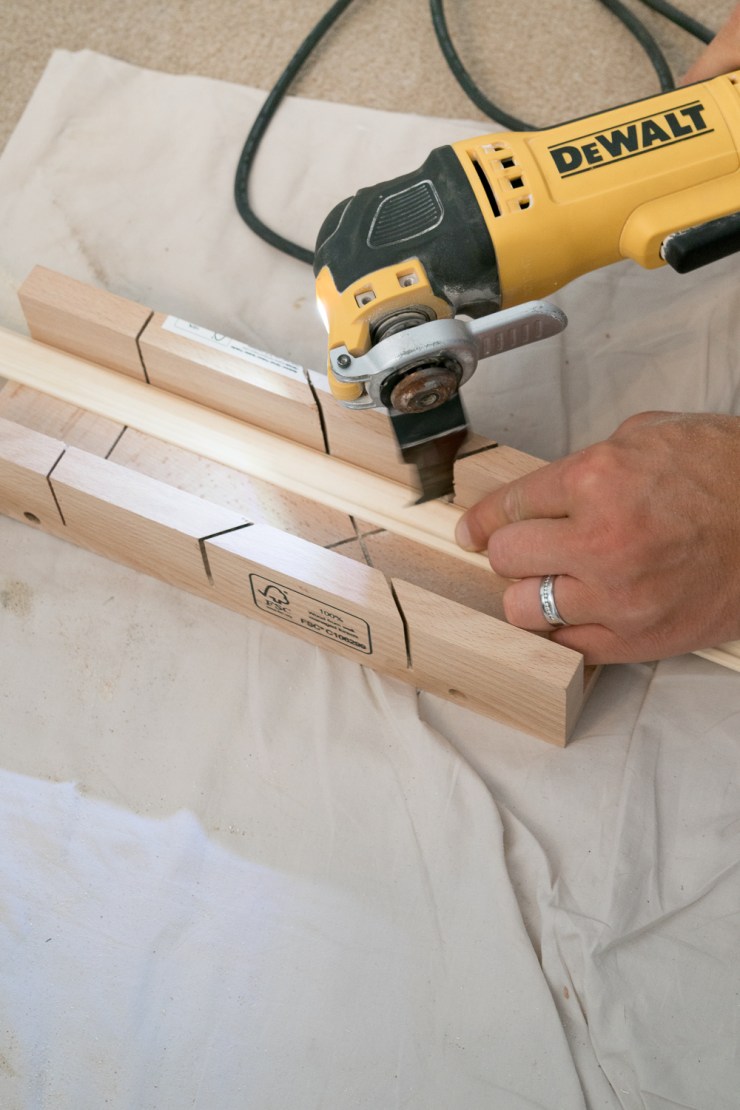
Cut the lengths to size using a mitre for the correct 45 degree angle. Be sure to cut in the right direction – all angles need to point inwards, towards the panel. Our electric multi tool made the cutting very easy.
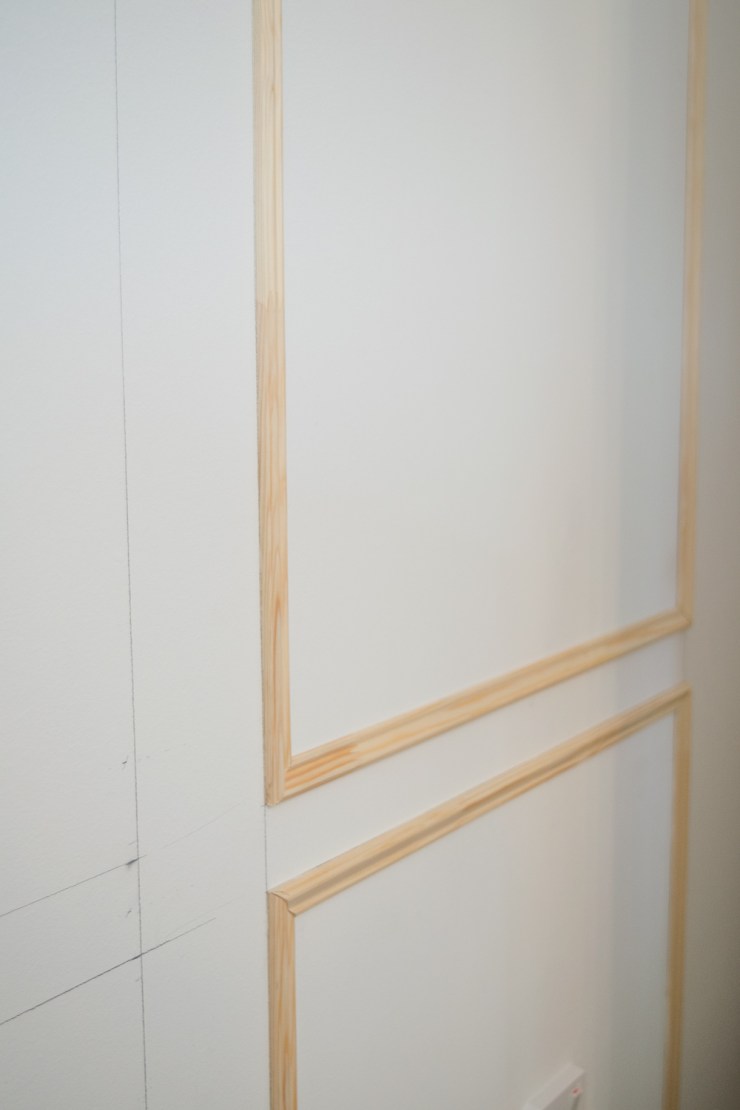
Using the stencil lines attach them to the wall using a wood adhesive. You don’t need a strong glue (hard as nails for example) as if you ever want to take them off it will take the wall off too! Also be careful not to add too much glue, you don’t want it to seep out from underneath when you press the moulding onto the wall.
If needed, seal the edges and corners with caulk. We didn’t really need too as things were already sitting flush and neat. Allow time for the glue to dry.
Checking the measurements were correct again – a perfectionist 😉

Then paint the wall! We opted to paint the wall and paneling white, if you wanted your moulding a different colour to your wall then I would recommend painting the wood before it goes ono the wall and then it may need touching up after – a more awkward job!

Two coats later…
And with everything back in place…


Before…
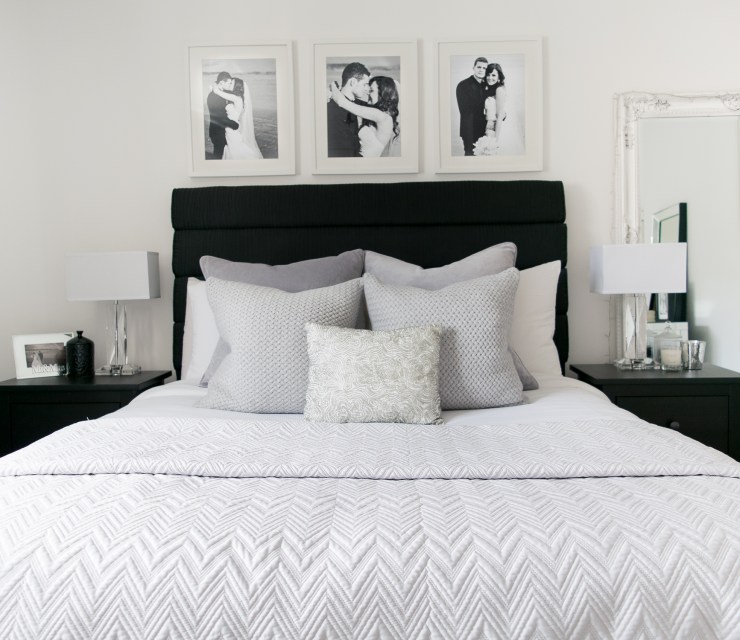
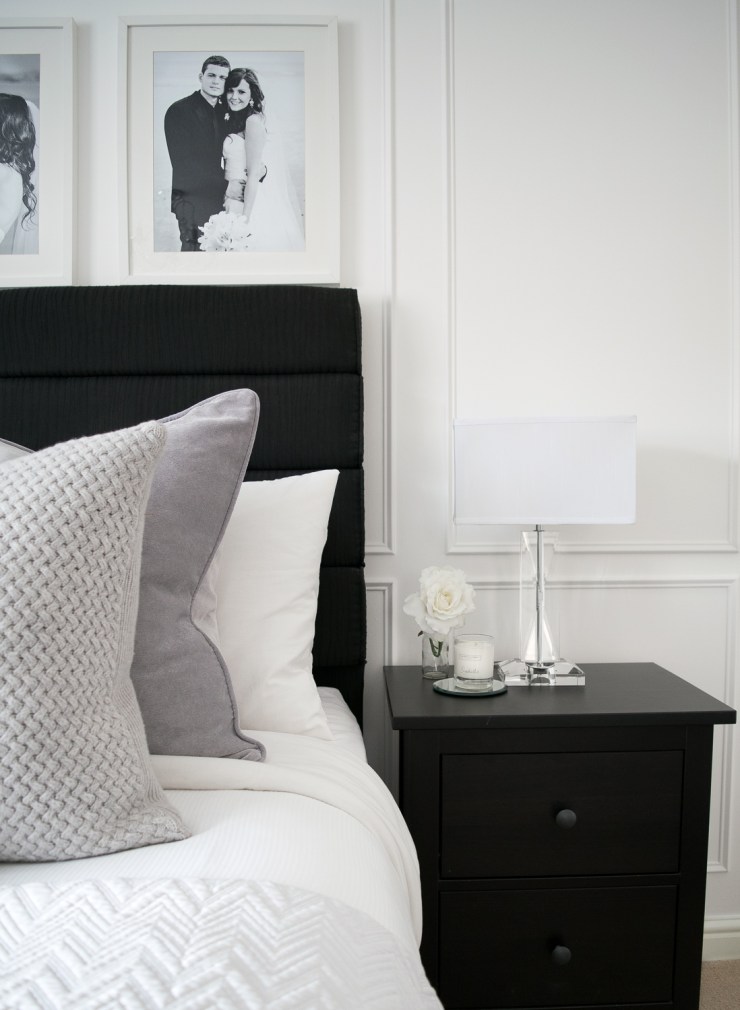
After…
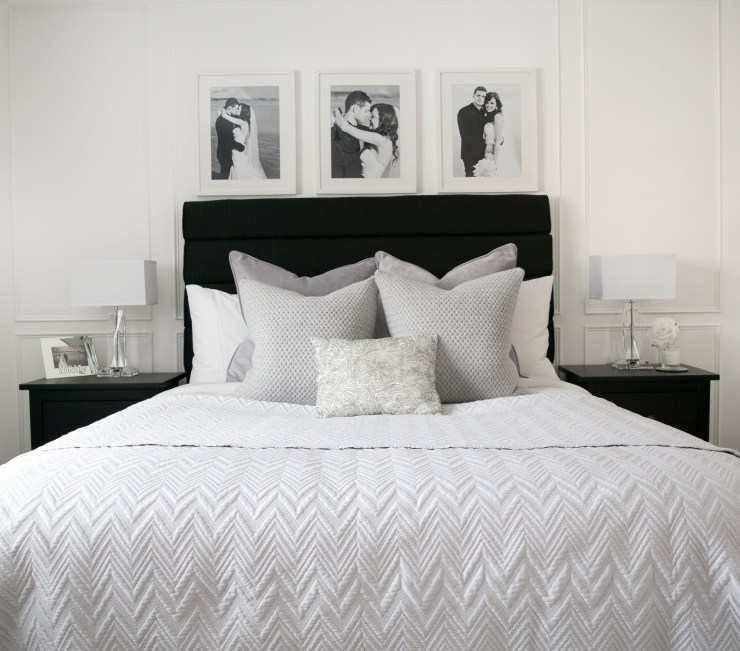
Our own little taste of Paris 🙂
Hope you love it as much as I do!
Rebecca x

The best panelling I’ve seen, it’s beautiful and goes perfectly in your room! Xx
LikeLike
Aw Thank you so much for commenting Kirsten! ☺️ Such a big compliment x x
LikeLike