
Who knew the smallest room in the house could be the most problematic to renovate. Our en suite was high up on our list of needing help but as bathroom renovations aren’t cheap we’d put it off…until the shower tray broke and we had water running through the kitchen ceiling. It was time to glam up this tiny space and turn it into something functional that we could love.
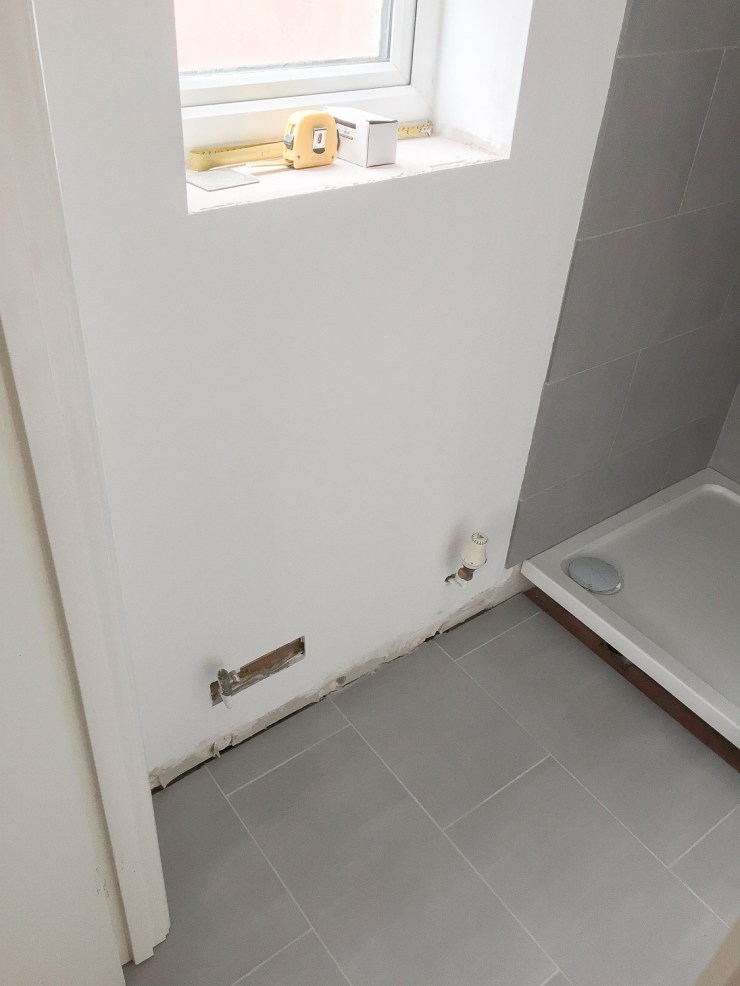
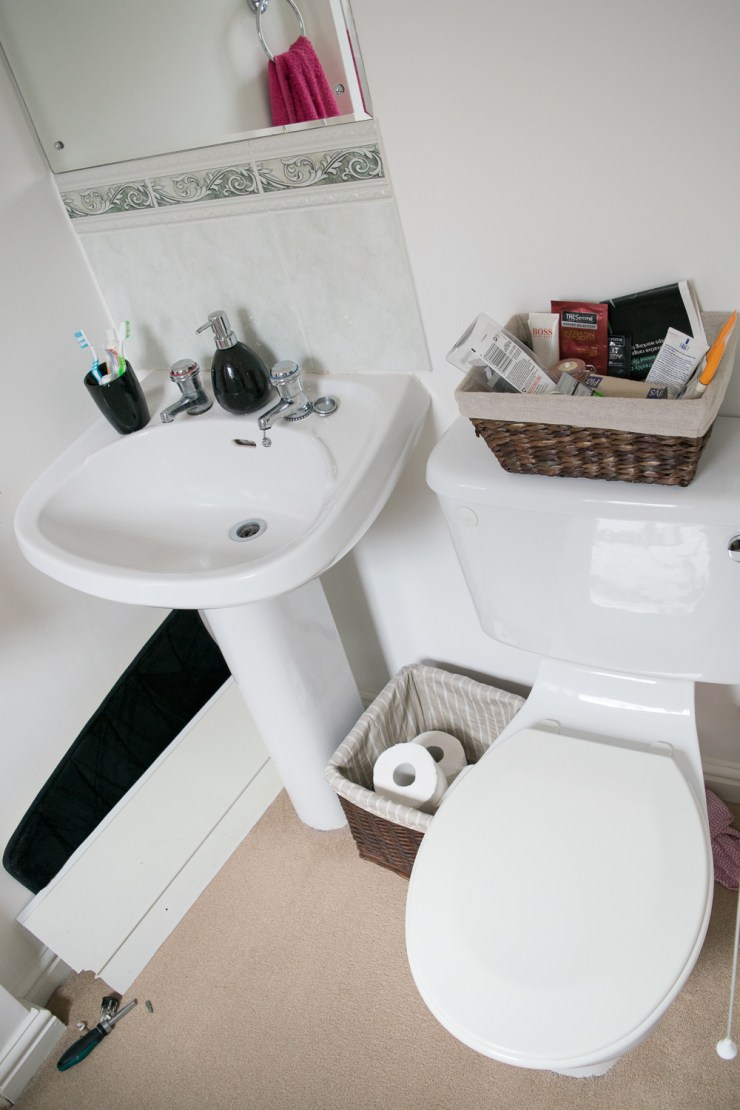
Here come the embarrassingly bad before shots.
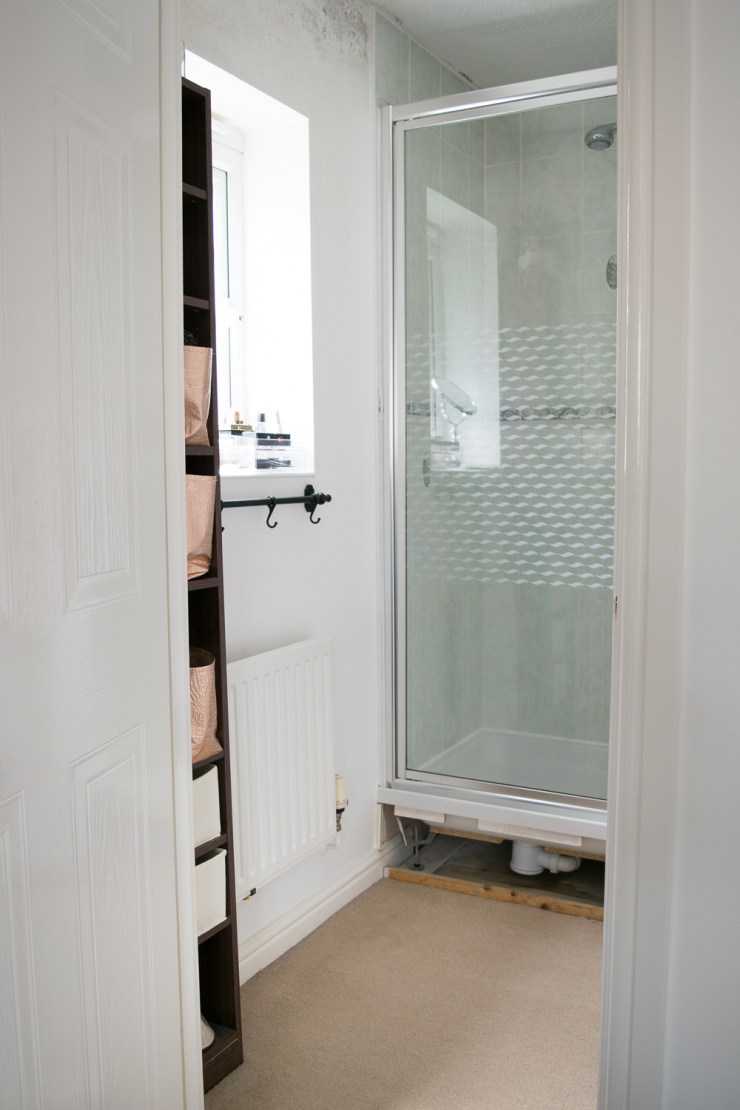
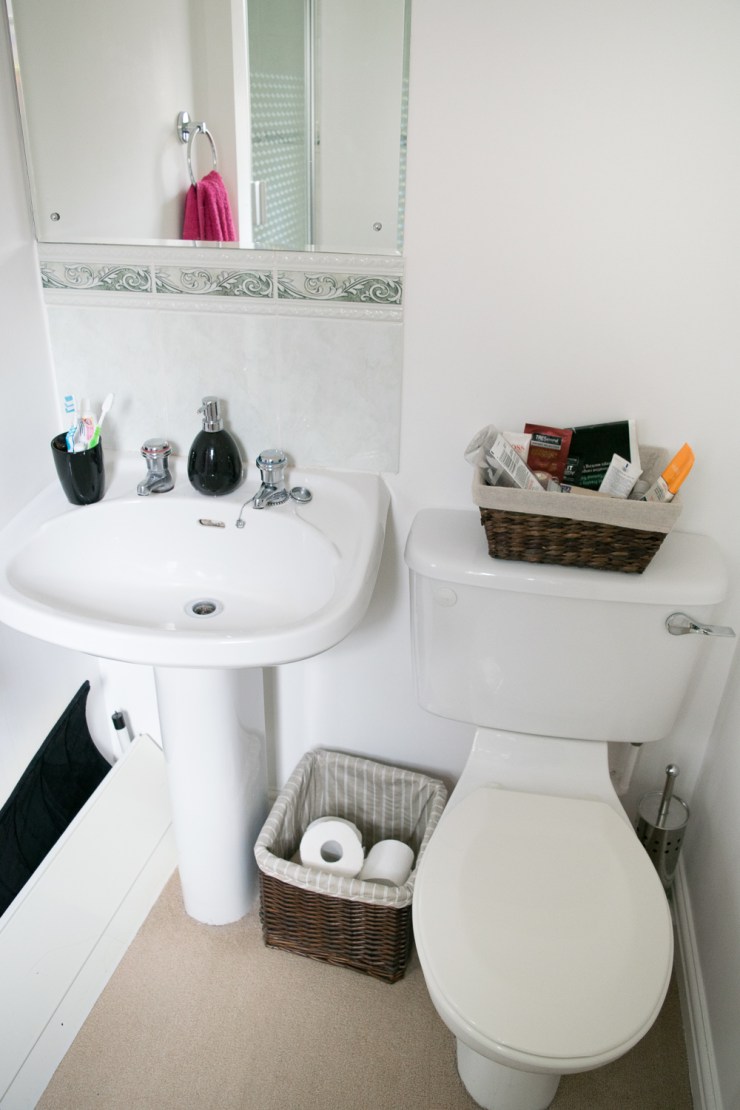
Big condensation problems, green ugly tiles, no storage except an old cd unit (the only thing that would fit in that tiny gap), impractical carpet, terrible lighting…the list goes on.
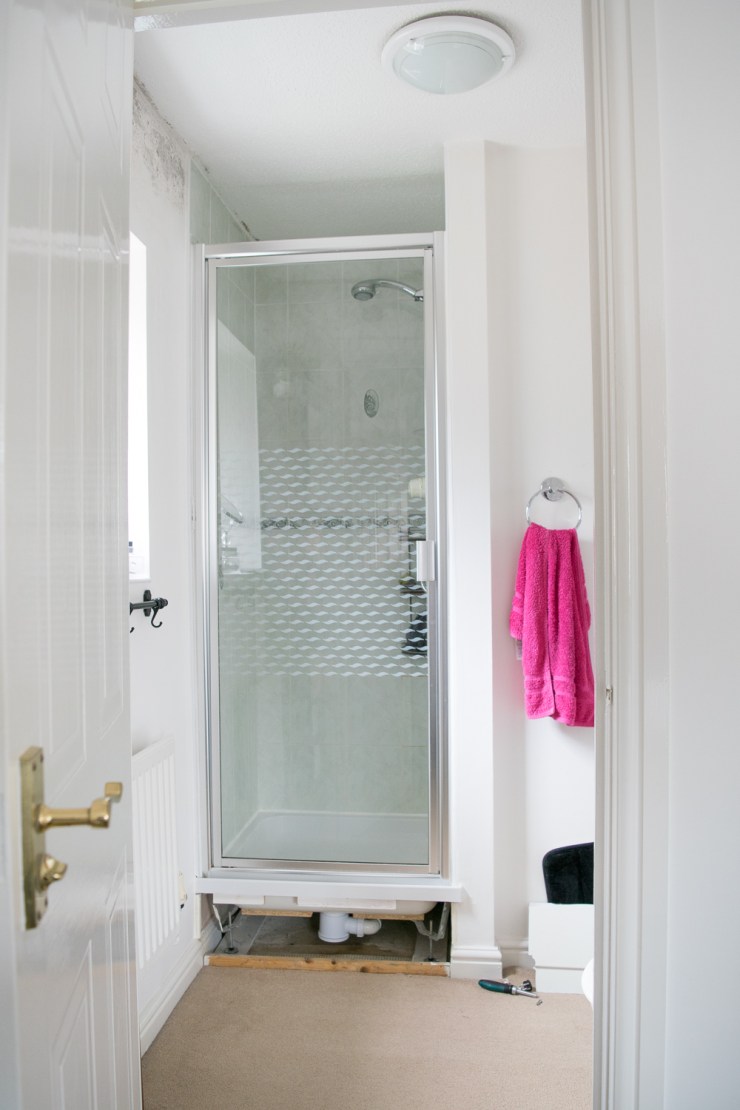
As you can see it’s pretty small, and the shower cubicle was built smaller than the standard 760mm size. This meant the old shower tray was embedded into the wall and so the inside wall had to come down and we had to gain a little extra space somewhere. The whole project was a problem solving exercise from start to finish, even our faithful family plumber disappeared and refused to come back and finish the job which of course left us with more problems!
Here’s what we did…
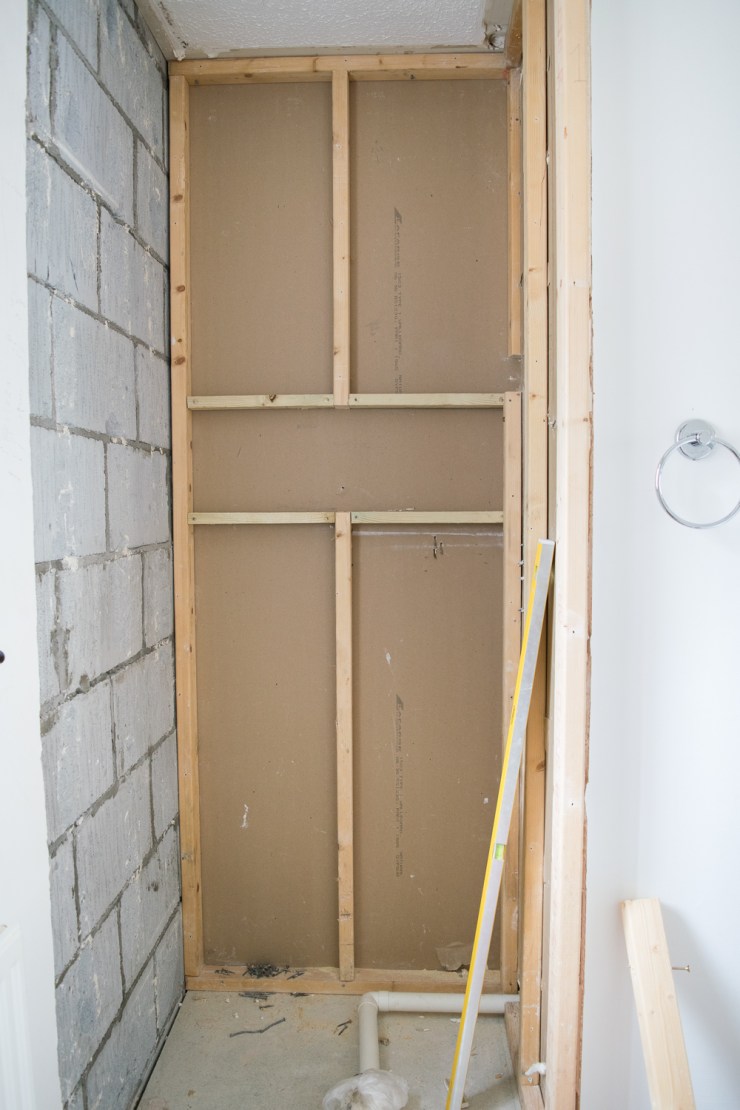
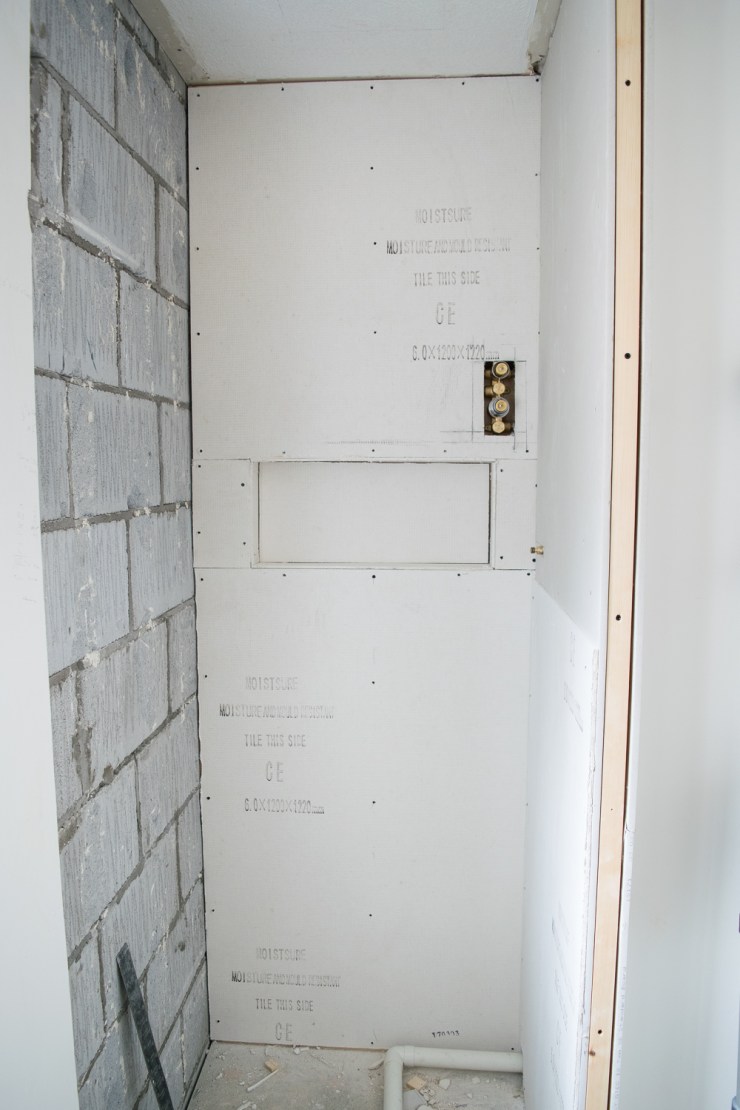
We removed everything – the sink, toilet, radiator, shower, carpet, and hacked off the tiles. Then the inside wall came down so we could remove the old shower tray and start re sizing that space. To gain those valuable extra few centimetres we changed the wall battens for a smaller size and created just enough space, we were squeezing in every millimetre!
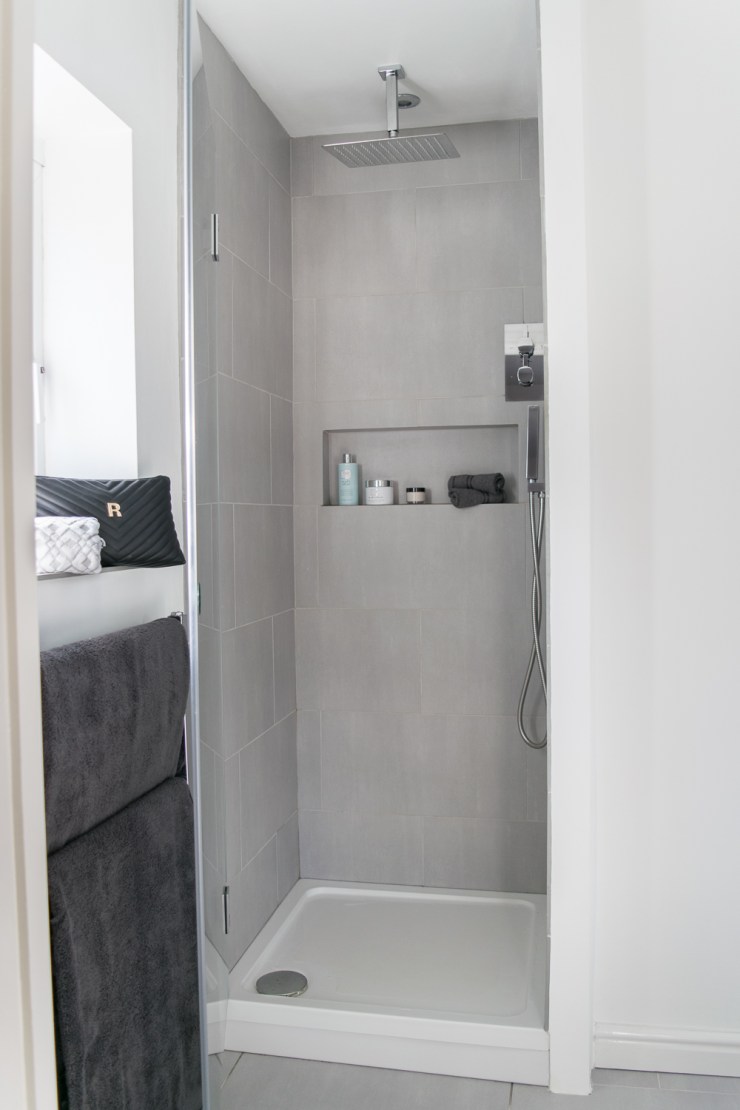
Being as we were starting from scratch we were able to design the shower with a built in shelf. Usually this would be done by building a false wall, but like I said we had to gain and not lose space, so we had to use the space in the cavity of the wall ensuring it was properly supported and watertight. We made the frame to size taking into account the thickness of the new boards and the tile that would go on top. The width of the shelf would be the length of a tile so we had no joins for a seamless look.

The shower was then plumbed in (we finally found a local plumber who would help us!) and the plaster board was replaced with cement boards to make it waterproof and to provide a strong surface to tile on.
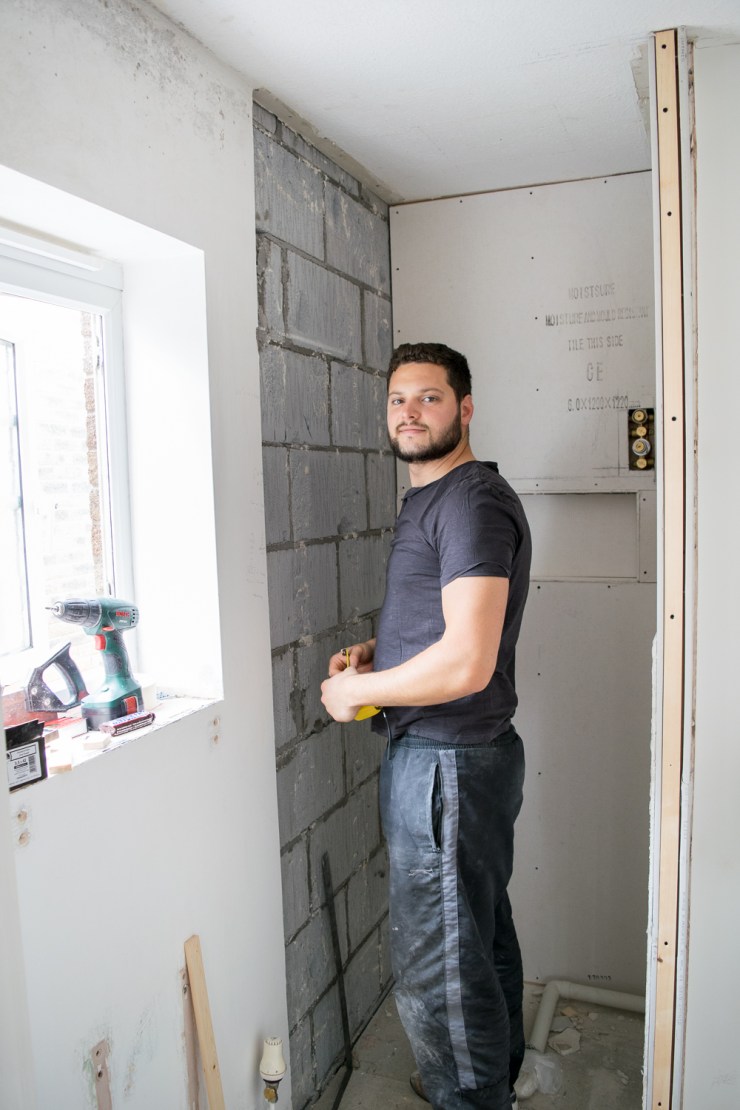
I have to give huge credit to Mr F for this project. He did all the work himself saving us so much money, and he even helped me write this blog post 🙂

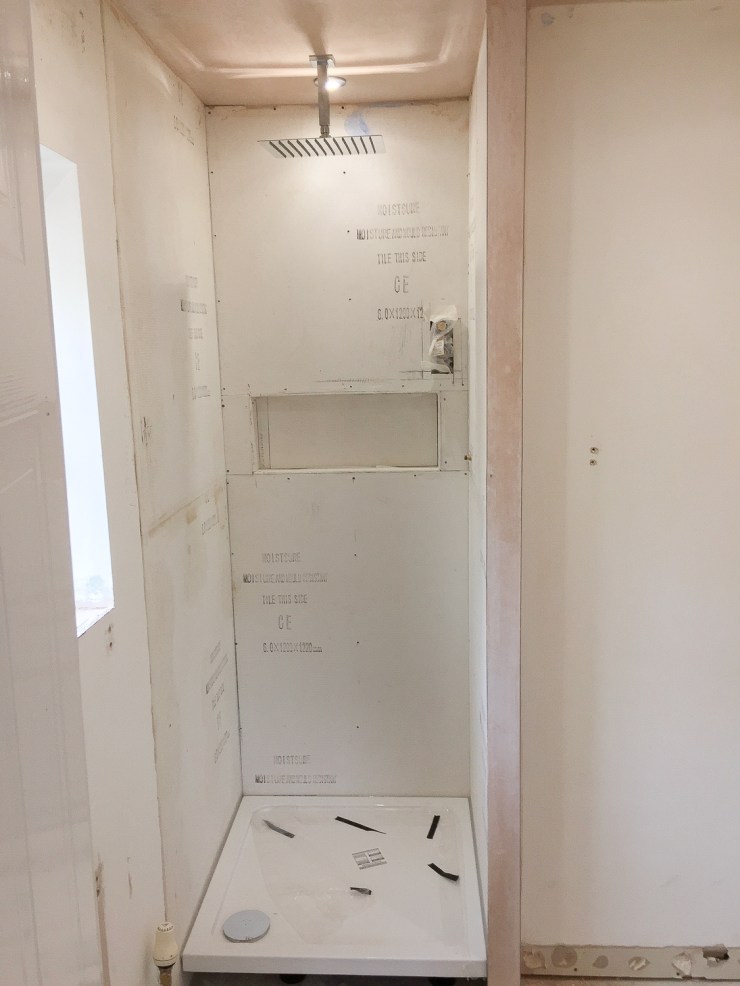
The ceiling was then plastered, spots fitted and a new strong ceramic shower tray installed.
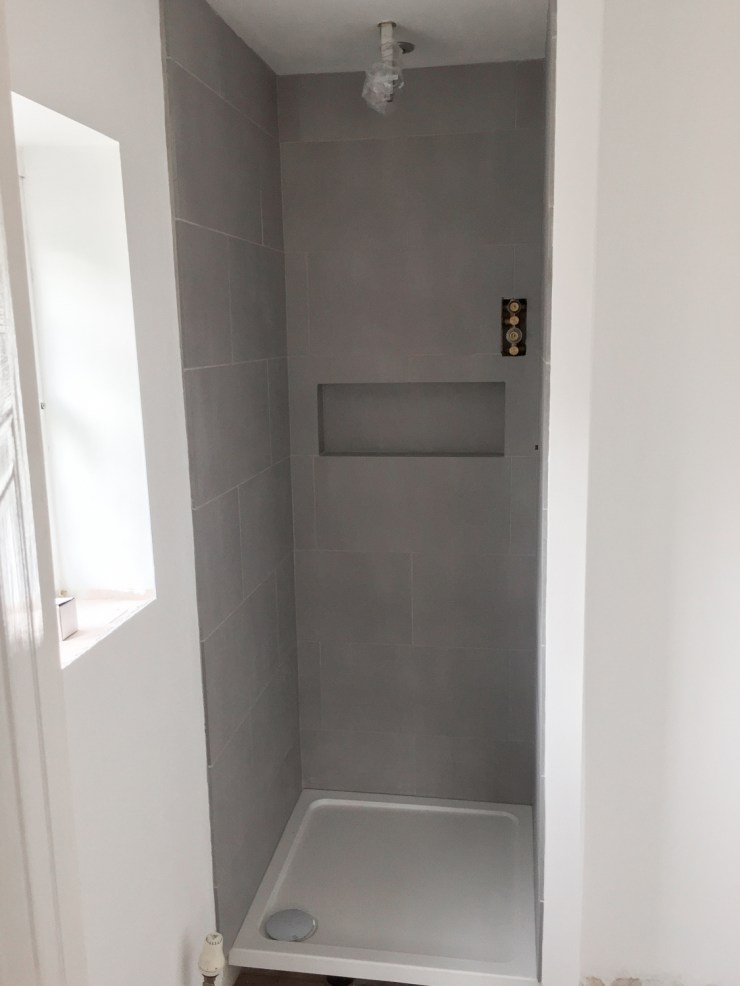
We chose a tile that had a concrete effect, I absolutely love them! They are what they call fully vitrified/full bodied porcelain tiles which means the pigment runs through the whole tile resulting in a finished edge when they are cut meaning no tile trims are needed. You get the effect of real stone without the price tag!
Then we could get everything plumbed back in! We bought a streamline tower rail to fit under the window and a compact toilet which meant we had space to add in a sink with fitted storage. Even better we found this in an outlet shop on e bay and had it brand new at half the price.
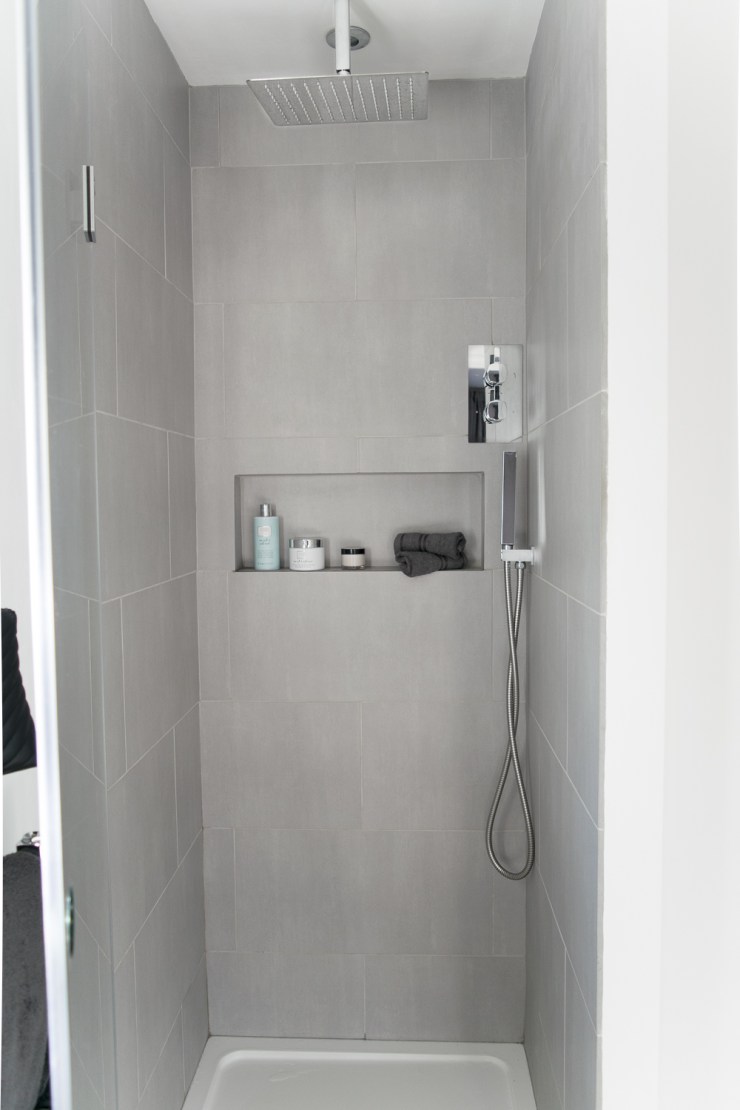
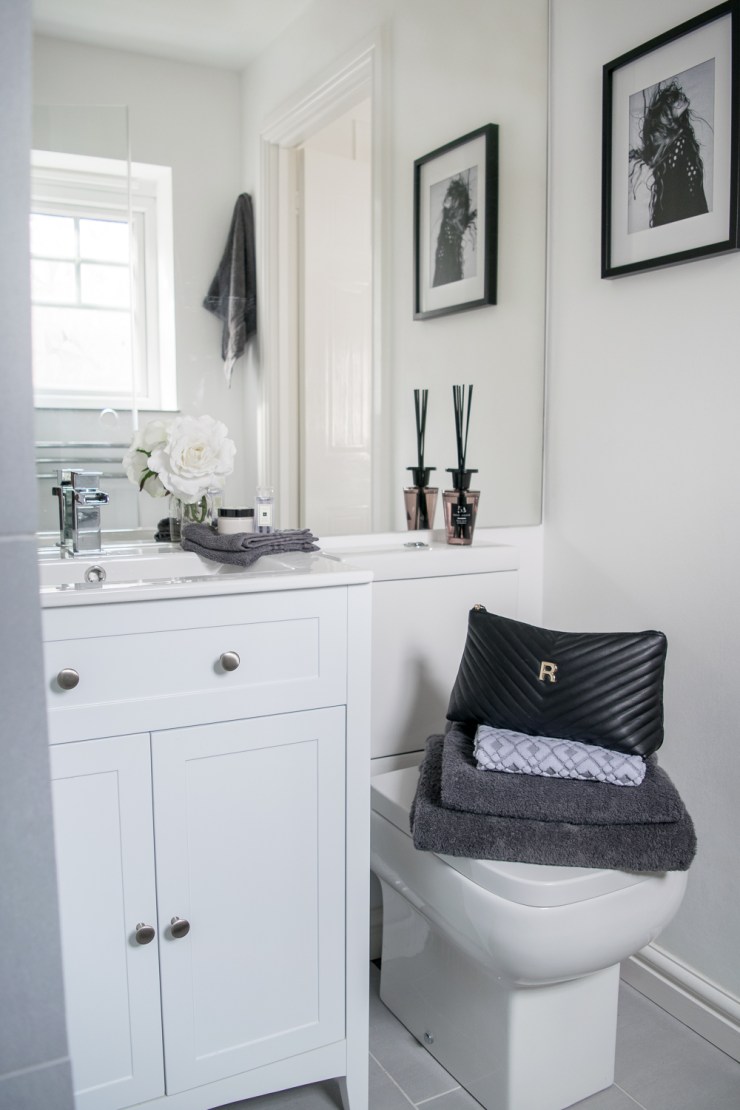
Are you ready? Here is our new en suite… 🙂
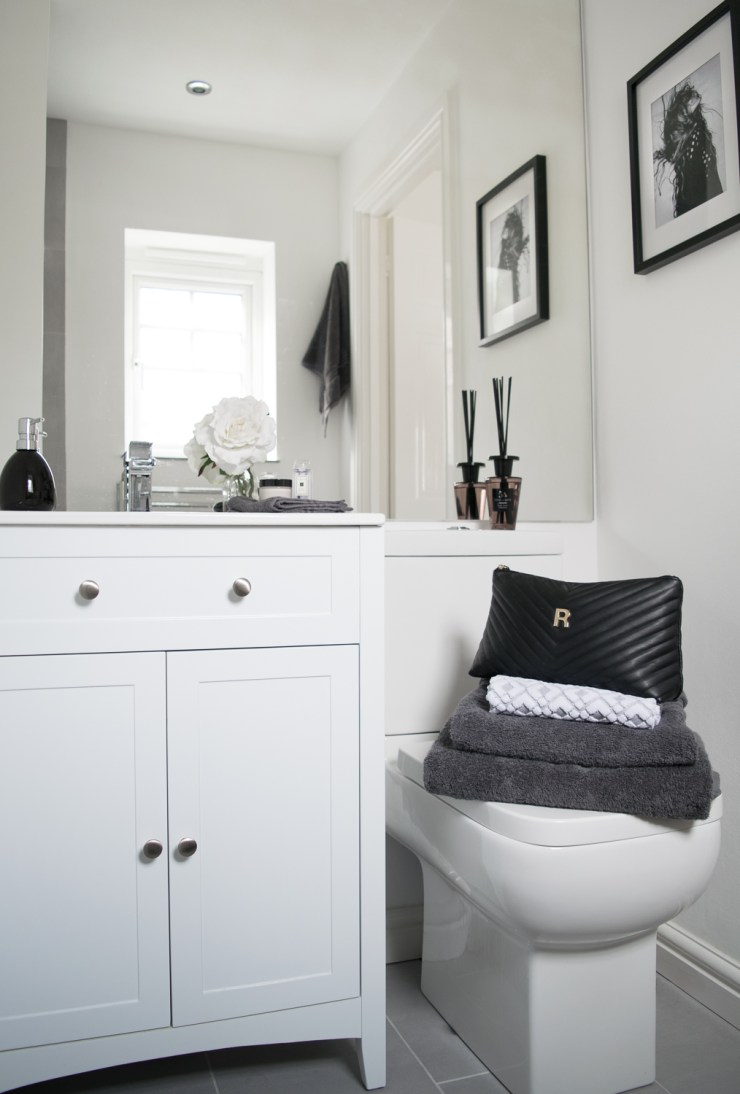
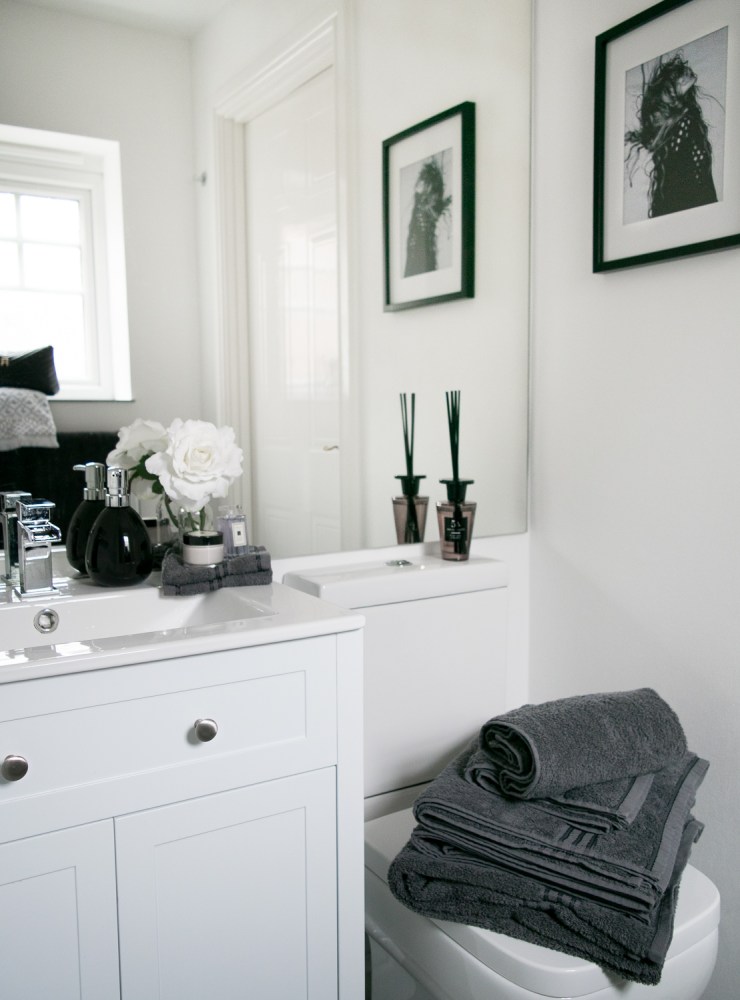
We are so pleased with the result! It now feels like we are getting ready in a 5* hotel and the fact it was a labour of love makes us value it all the more.
I love how that shelf turned out…
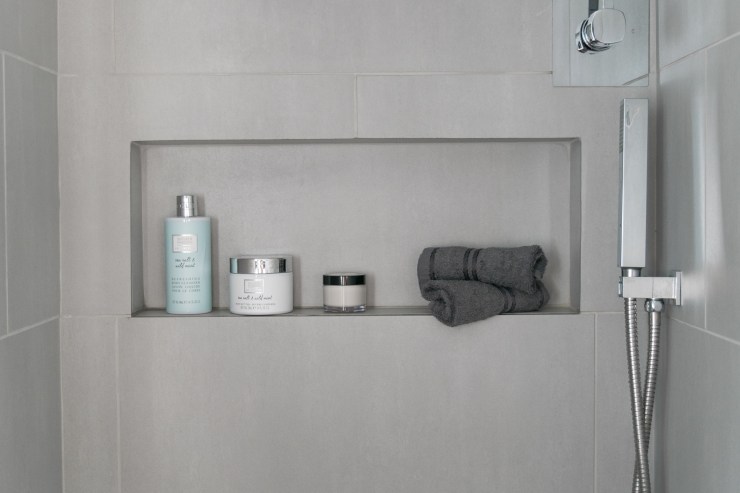
We opted for a rain shower head to save space and a spot light to the back of the shower so when it’s on it illuminates the back wall and shelf.
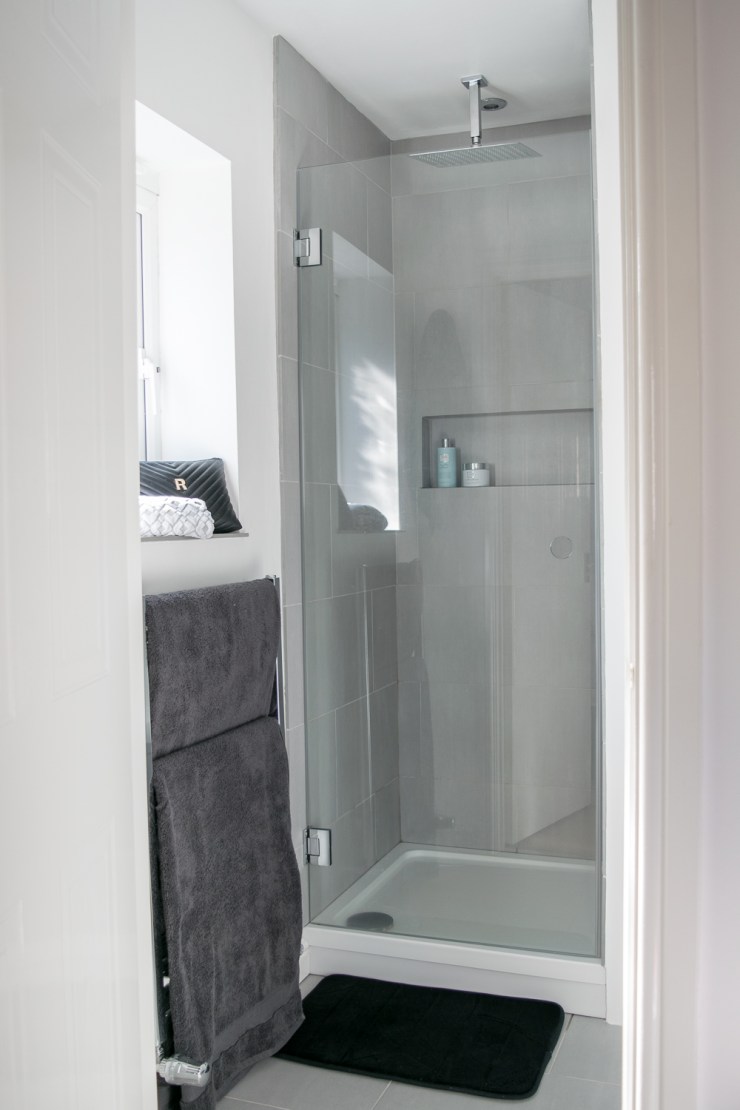
One of my favourite features is the frameless shower door. We really wanted this style in order to give the illusion of more space but all the shop bought doors had some sort of frame to attach the door to the wall. So we looked at bespoke options and got some crazy prices, until we found clickbathrooms.com. They could offer us exactly what we wanted at around half the price of the others and it worked out a similar price to the shop bought doors. The glass is high quality and the polished chrome hinges attach directly to the wall giving such a sleek and minimal look, I’m obsessed!
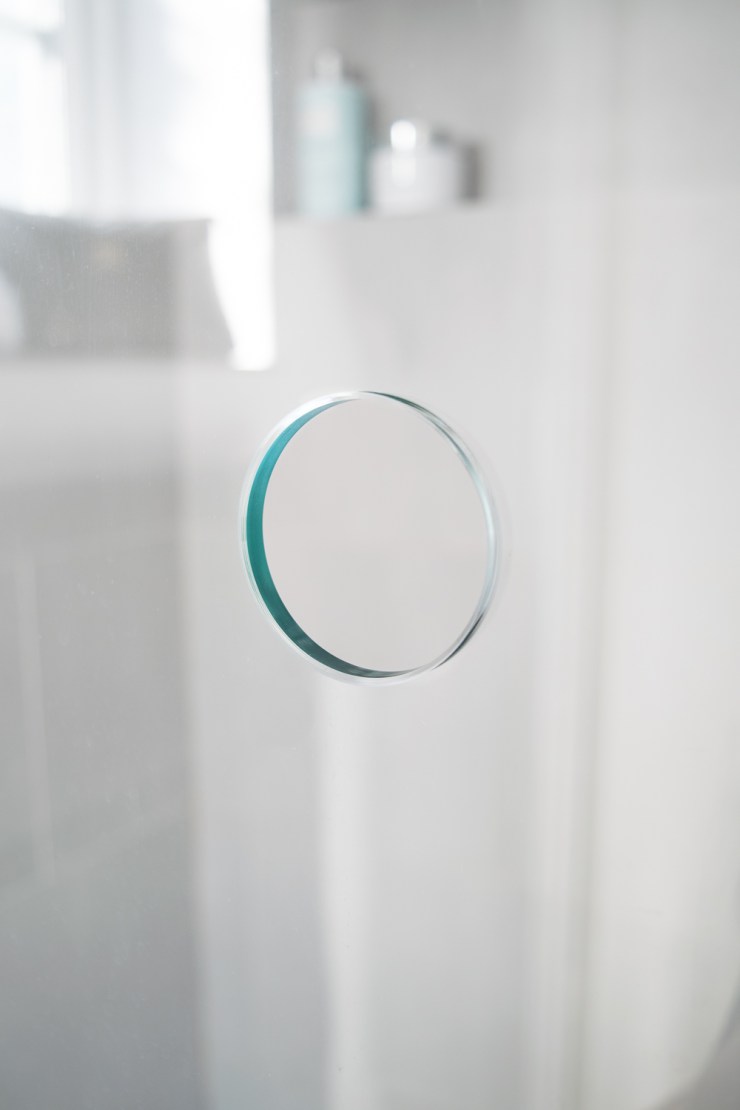
Look at the handle…amazing!
Another of my favourite features is the huge cut to size mirror. I ordered a few framed mirrors but they were all too heavy visually for the space. To have this one custom cut to fill the wall was actually the cheapest option and I love it. We ordered from mirrorfit.co.uk, it was delivered and then we fitted it ourselves, a tricky and unnerving task when the room is so small, the mirror is so big and you really don’t want to damage it! They supply the mirror adhesive which is super strong stuff and the mirror comes with foil backing to protect it from moisture.
From this…
to this…

and from this…
to this…
Rebecca x
*This is not a sponsored post and I’ve mentioned the companies linked just because I loved their service and products!

Looks amazing! We need to do our bathroom ourselves too… So much great inspiration here! Thank you
LikeLike
Thank you Emma! I’m so glad you found it helpful 🙂 it was hard work but worth it! All the best with yours 🙂 x
LikeLike