
Last year I had a clear idea in mind of how I wanted my Christmas tree to look, but I couldn’t find a ribbon (that didn’t cost an arm and a leg) that looked plush enough. I came up with a solution which I loved so much I’ve repeated it this year too! I get comments on my tree ribbon a lot over on Instagram so I thought I’d share with you here how I created the look.
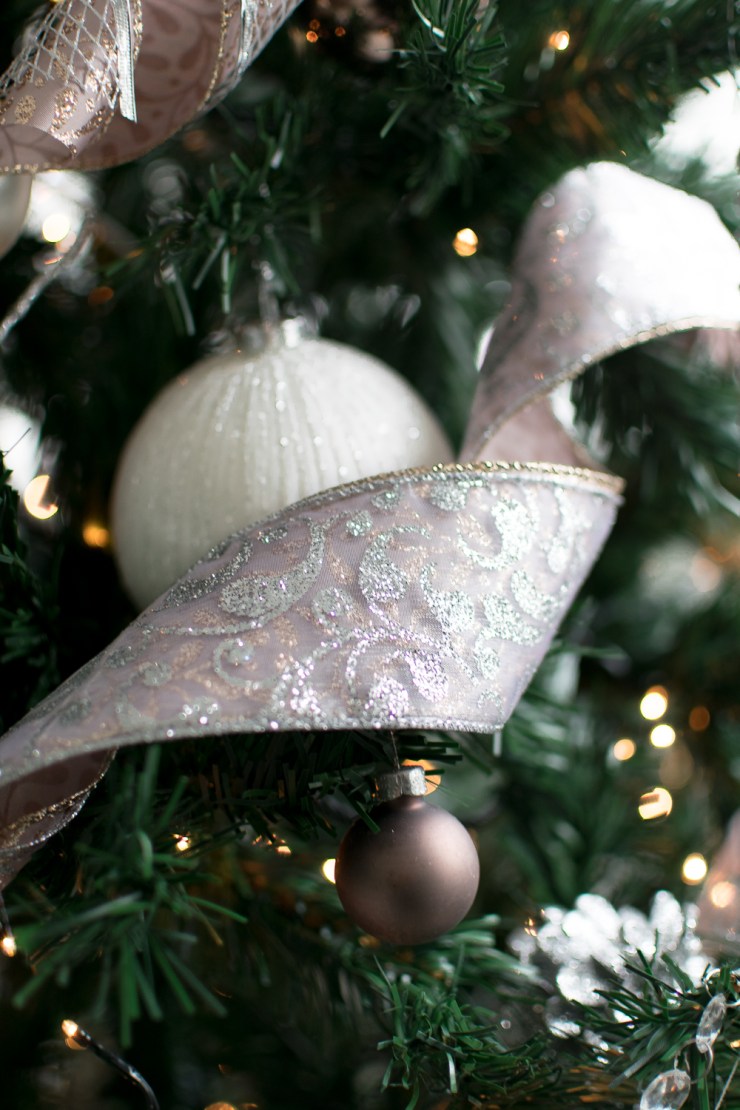
I found this ribbon in The Range…


I loved it, it would add some warmth but it was a little too pink for me. I wanted something that would work well with my white, silver and taupe baubles.
Then I came across this silver mesh ribbon, also The Range…


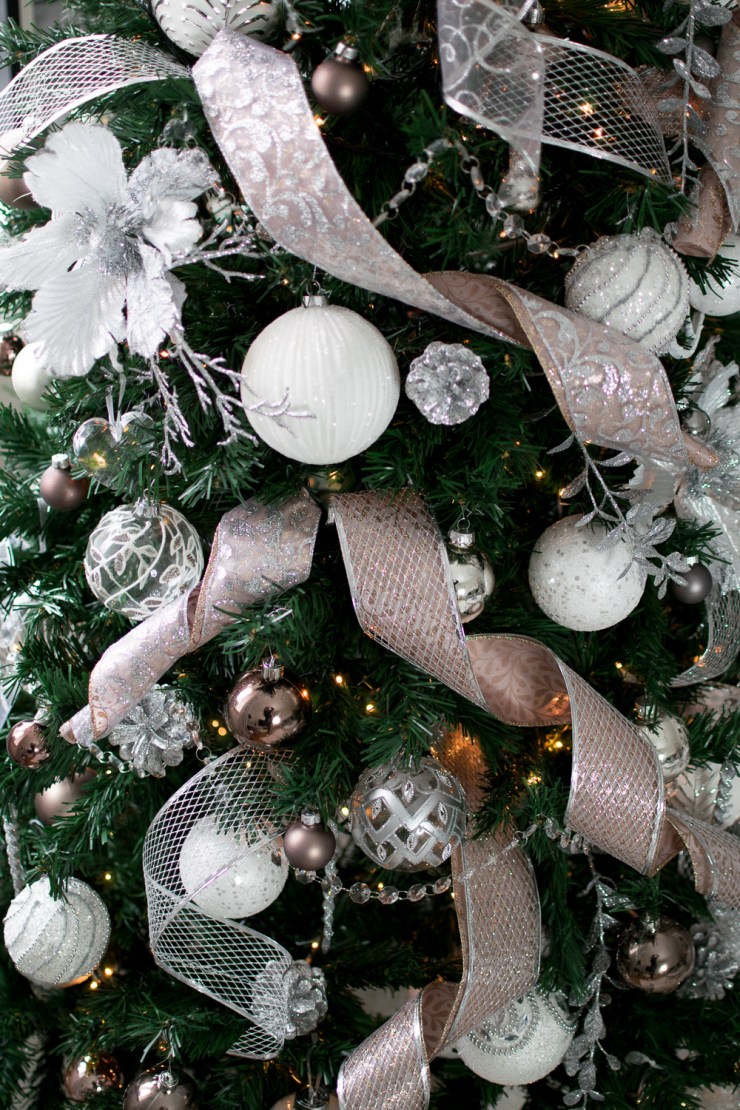
And had the idea to layer them…


This softened the pink and gold and obviously added more thickness which helped when created the voluminous twists. It also added more depth to the texture of the ribbon. I should also add that whatever ribbon you choose it must be wired ribbon for this to work!
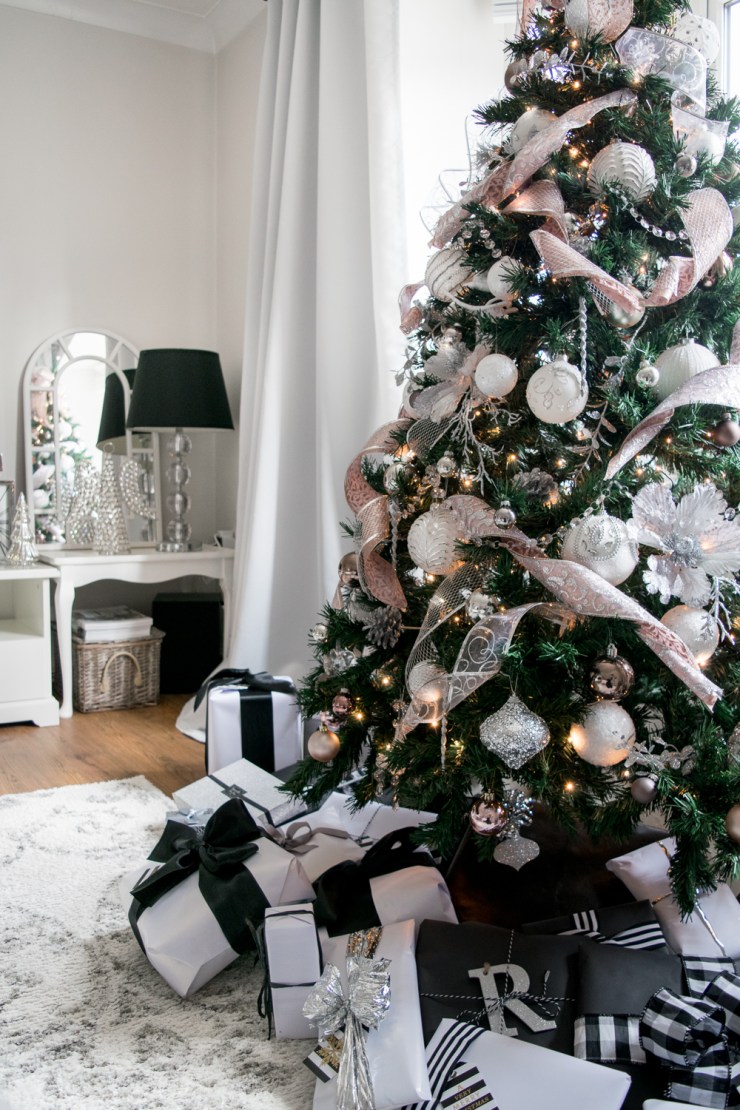
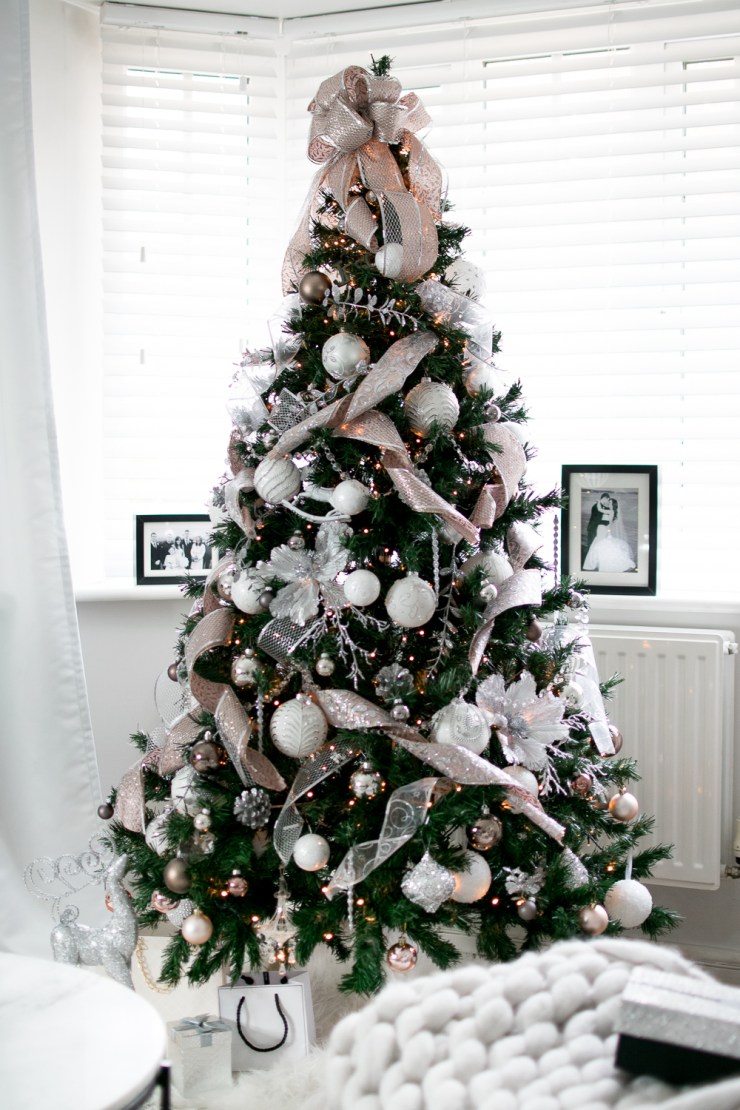
This is how it looks on the tree…

While creating the ribbon I ran out of the wire mesh (as I was using it on its own too) but still had some pink ribbon left and so layered it with some opaque silver glitter ribbon I already had (I think from B&M). This worked really well too! Both ribbons combined look far more expensive, and it’s a fun way to make your tree look more custom and unique.
Creating the twist is really easy…
I’ve used a fairly short length to show here but the ribbons through my tree are all cut at differently, some longer, some shorter. For each piece cut both ribbons to the same length, it creates a better finish if you cut at a diagonal. Line them up to overlap each other holding both ribbons at both ends.

Then just twist! It may go a little messy at this point but it doesn’t matter, this will sort itself in the next stage…

Push both ends towards each other to create some volume.

Holding quite loosely, bend the top of the ribbon over a little and push it quite far into the tree so it’s held between some branches and looks like it’s emerging from the tree. Then let the rest of the ribbon drape loosely down the tree at a diagonal. To create a neater end just twist both ribbons again a little more tightly around your finger. And it’s done!
I also took it a step further and used the layered ribbons to create a big loose bow at the top of the tree.
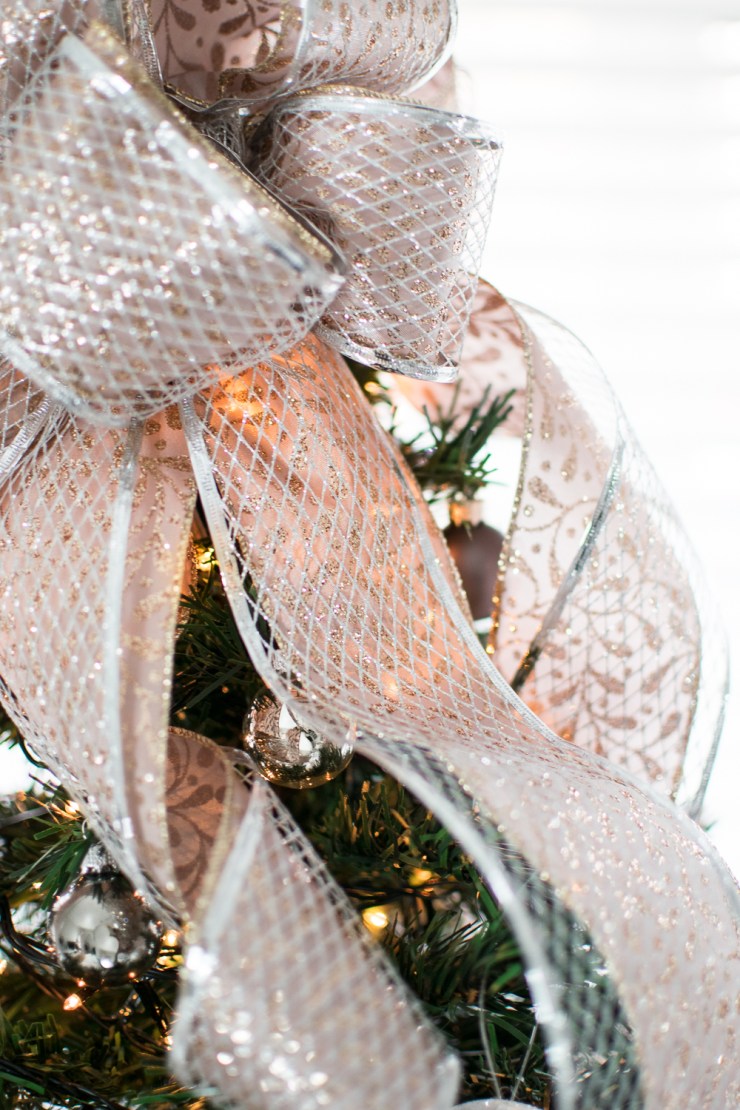
This year I added two bows back to back to add more volume again, the more cascading it looks the better!

Luxury look ribbon for a fraction of the price.
Rebecca x
