
After such great feedback from my last blog post, ‘what I use to take my interior pics’, I thought it would be fun to talk more about interiors photography. But this post is a little extra special. I’m so excited to be collaborating with 7 other instagrammers who have agreed to share their top photography tips with you! Let me introduce you to 7 ladies who know how to take a flawless interior shot, here they reveal their secrets…
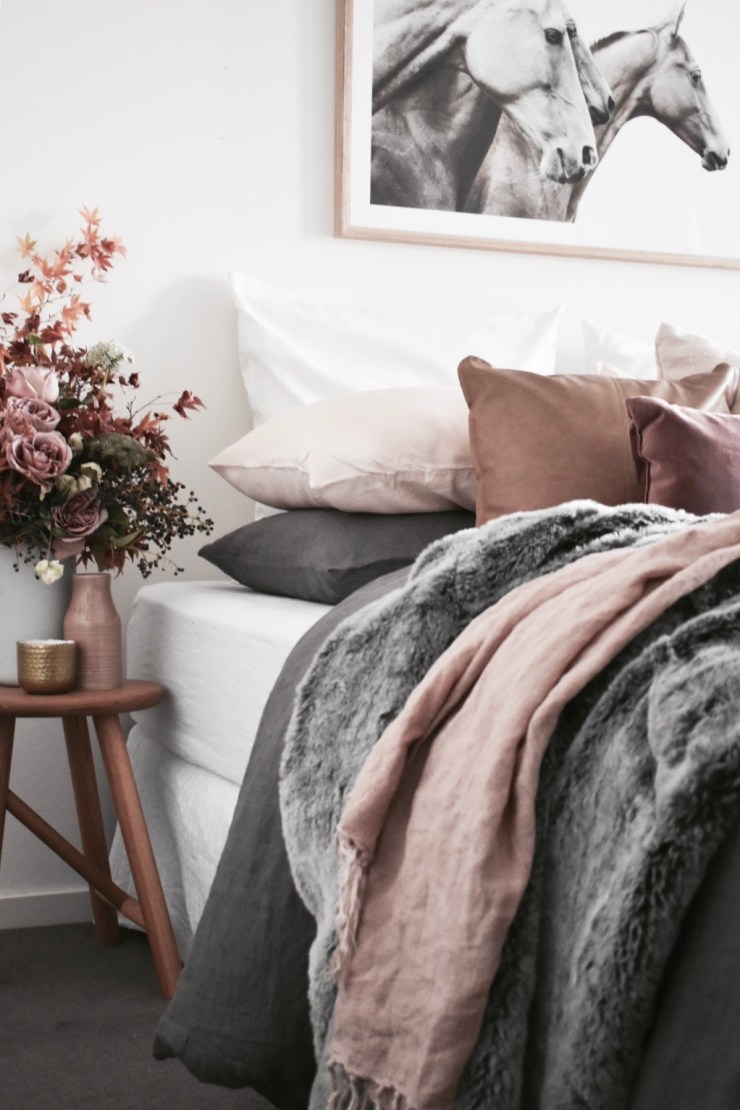
Tara’s instagram feed is full of gorgeous natural tones and textures. She has an incredible eye for styling and always inspires me with her picture perfect photography.
My number one tip asides from shooting in natural lighting would be to never post a photo that’s not straight. With Interiors you want to see all the clean lines and sharp angles to produce the perfect shot. For example; if you have a image with artwork in it, and it’s not straight and aligning with the rest of the lines in the shot, I wouldn’t post, or use it for any work. I would keep taking until you get that perfect shot or close to. Also keep in mind you can edit the angle of your shot on your smart phone or desktop, so if it’s not too bad you may be able to fix it.
Sinem creates the most beautiful monochrome interior and lifestyle shots. Check out her feed for some clever Ikea hacks too, her latest is my fave! Sinem agrees with the importance of getting your angles right…
The one thing I always use and can’t live without is the ruler function on my camera. Having straight or even lines gives a picture so much balance! It gives you that magazine-look. Nothing annoys me more than a lovely picture that is totally crooked!

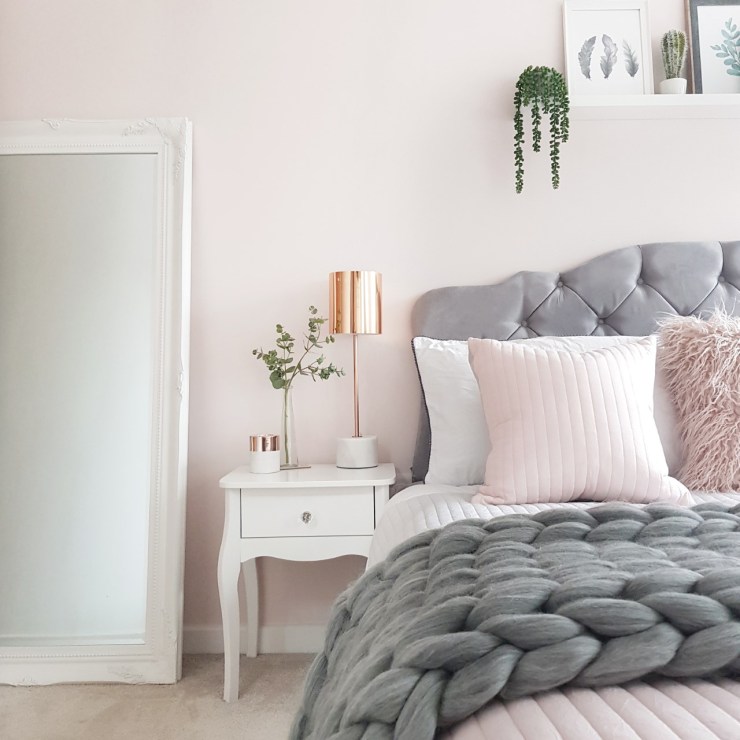
Jo’s instagram is one for the blush and rose gold lovers. Her posts are always so light, airy and well put together and her photography is crisp and clean.
Here are a few tips I’ve learnt along the way in the year of having my instagram account. Vary the perspectives of your home, it’s amazing how different an area of your home can look from another view. Get down and level with what you are shooting or for something different go high from above. Squeezing into the smallest spaces to get the shot is quite standard for me! Always double check the room for items you don’t want included in your photo and then add a few little props from around your home to style the shoot. Just a cup of tea, some biscuits or some flowers, a candle or a throw can make a photo.
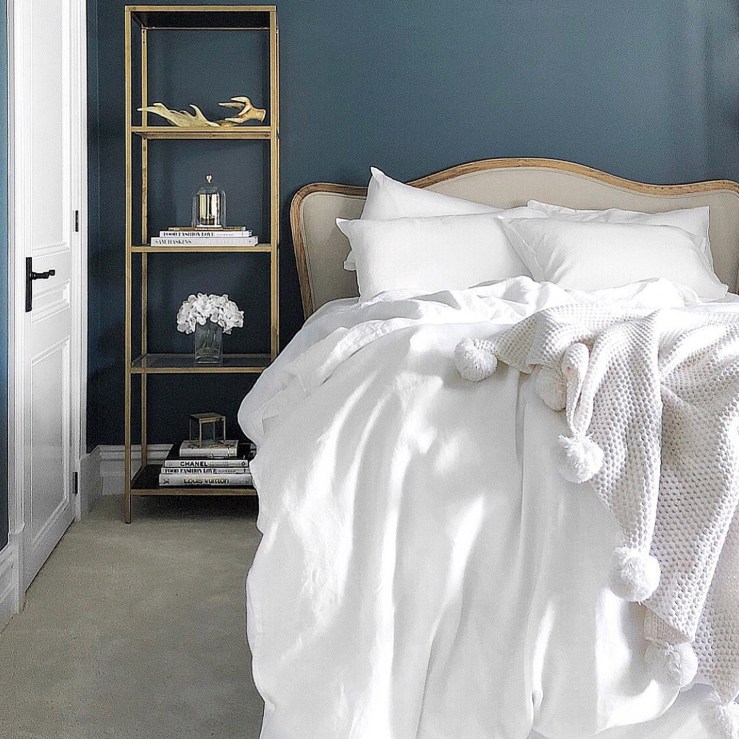
Susanna’s home has that look of being perfectly curated over time. She pairs traditional fireplaces alongside modern pieces of furniture and layered with statement industrial lighting to create a unique scandi maximalist look.
My best tip for taking interior shots is to use a tripod whenever possible to get as sharp an image as possible. I find that shooting with the camera on a tripod set up at chest height works really well with most spaces.
Fashion, lifestyle and interiors, Kelsey shares a bit of everything with her followers. She definitely knows how to perfectly style and shoot the closeup details.
My top tip would be, only photograph in the best daylight, it’s your best friend and can really increase photo quality. I use Snapseed to edit photos, brighten and sharpen are my favourite tools for when it’s a cloudy day. The app is free to download too!
Lisa maximises the striking black and white duo in her home with marble and ornate mouldings and ceilings. Safe to say it’s my dream home! She experiments with deeper colours in her spare room.
Get to know the rooms in your house and what time of day the natural light is at its best to shoot. I only shoot the front of my house in the morning and the back in the afternoon.
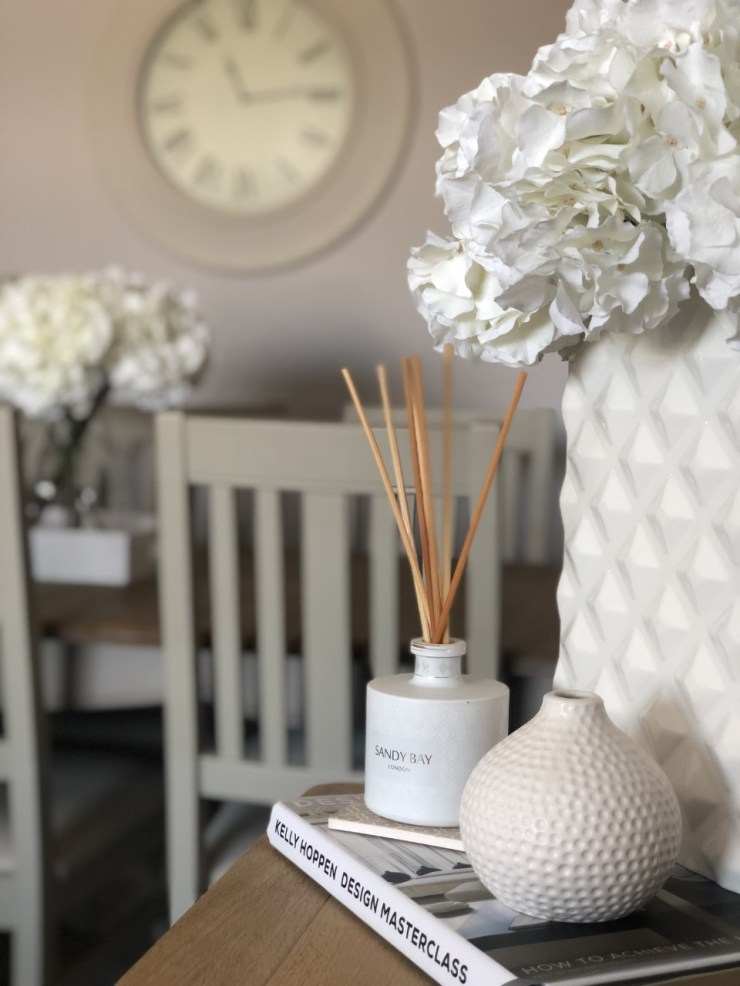
Carmen has shared one home with us on instagram and is now on to her next dreamy renovation! Head over to her instagram to see her pristine show home style. Here Carmen has shared her photo editing tips.
I always turn off all artificial lighting and take my picture in natural light so my images can look quite dark initially. But at this stage I worry more about the detail and quality. Afterwards I edit my images using Snapseed and the main two adjustments I make are to increase brightness and reduce saturation. These are both features available on Instagram but what I love about Snapseed is the ability to selectively edit areas of the photo. This allows me to brighten a dark corner, or reduce saturation to make a white wall look really clean. The last feature, which I use less often, is “healing” which can be used to correct small areas of your photo. I use this every now and again to remove a plug socket or cover up a mark on the wall.
In these pictures of my living room you can see I have brightened the photo quite a bit. I have also removed the plug socket under the side table.


I hope you’ve picked up some new tips and tricks! A massive thank you to my 7 featured instagrammers for being so willing to share their insights and words of advice.
Did you like this kind of blog post? Let me know in the comments below or over on my instagram 🙂
Rebecca x
