
Ad – in collaboration with Stonelux, some products gifted
My parents home has large old fireplaces. So when it came to renovating the rooms we had to decide whether to keep them or rip them out and replace them. I loved how substantial they felt and the warm presence they brought to the rooms, plus considering the huge cost of having to replace them…they had to stay! However they really needed work in order to fit in with the new interior.
How to do you upscale an old fireplace so it still feels like it has a history but also feels modern and fresh?
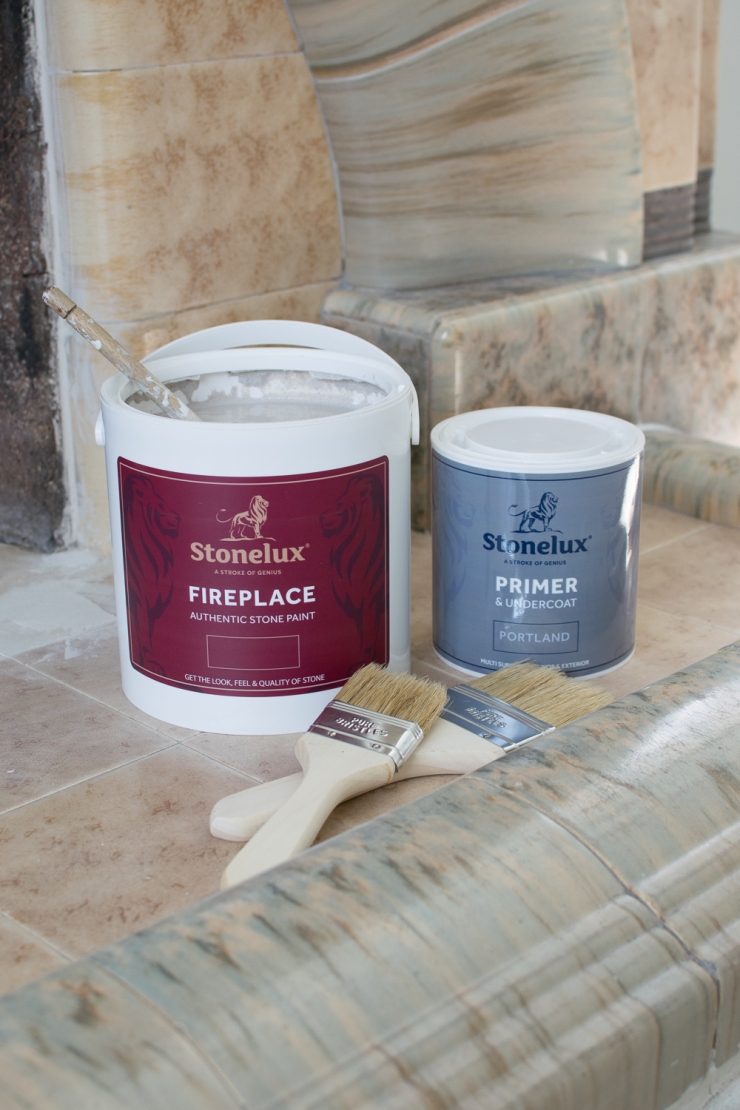
I started researching and felt really lost for options until I came across the Stonelux website. Stonelux produce a fireplace stone coating paint that has real ground stone in it and is suitable to be used over just about any material. The result is a painted fireplace that looks like authentic natural stone. It is also designed for purpose and so it is safe to use with a working fireplace providing the fire is a minimum of 10cm away from the painted surface. The effect of the paint seemed to fit exactly what I was trying to achieve, so I ordered their primer and paint opting for the colour Limestone.
The first is a concrete fireplace and the results are amazing!
Before

After


I was so impressed! It’s worth mentioning that as this one had some fire damage I used a stain block first before applying the primer and it worked perfectly.
I was so excited when the second fireplace became a collaboration with Stonelux. They kindly send me the paint and tools I needed for the job. This time I chose the colour Lamport which is a very natural brown stone colour.
I’ll take you through this one step by step.
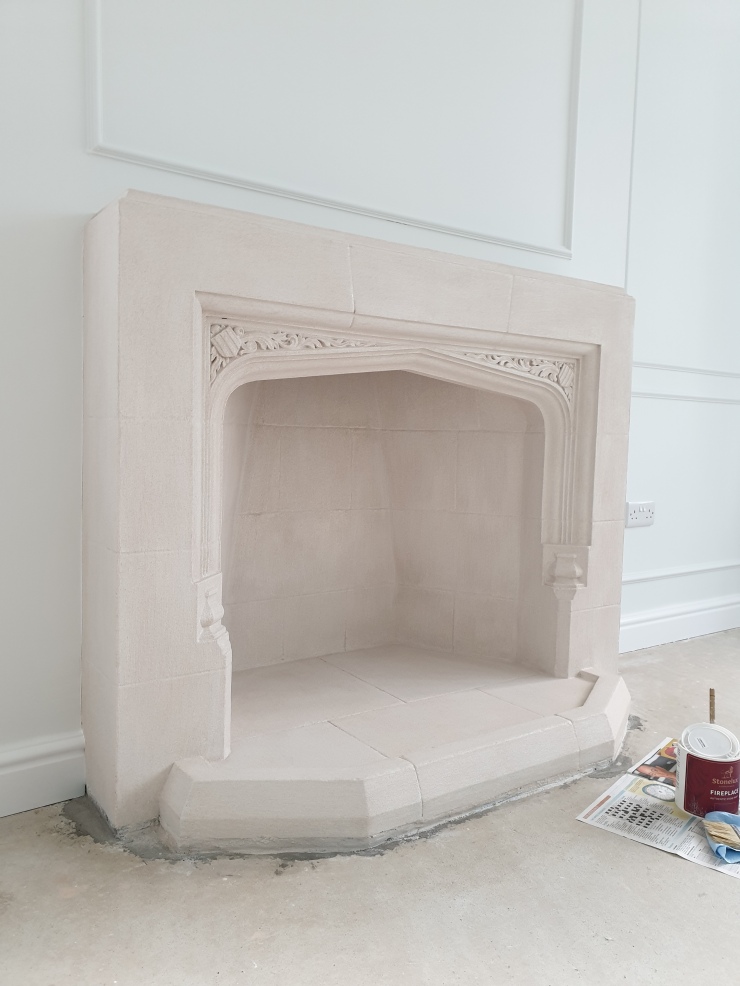
Here is the original fireplace…


You can see why it needed some attention!
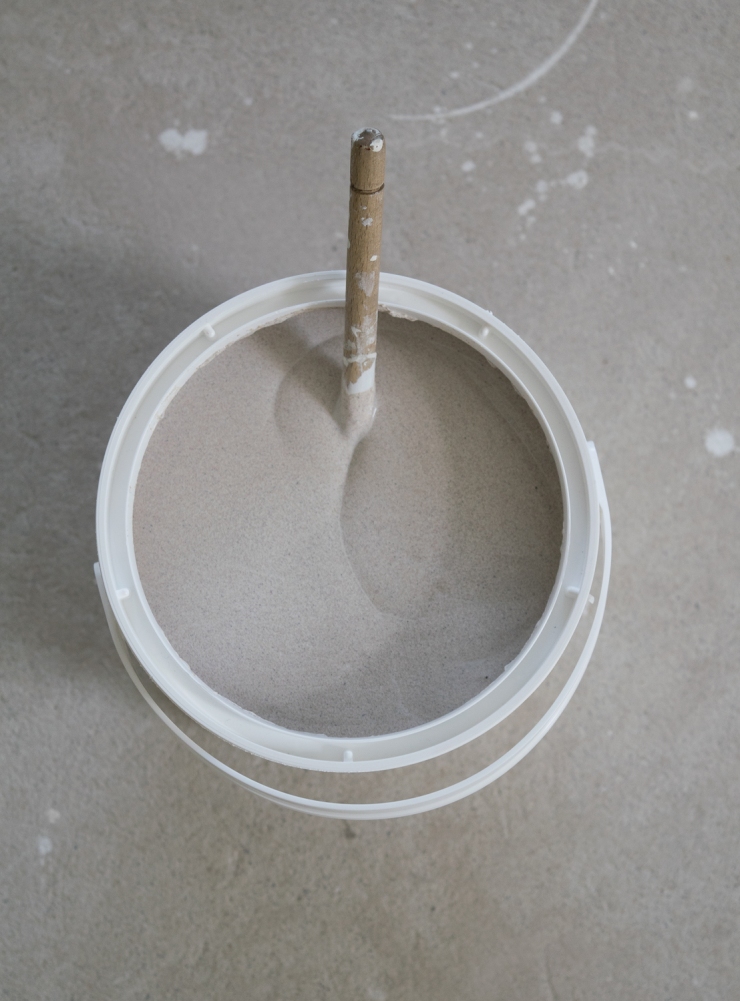
This is a tile fireplace so I gave it a good sand to key the surface of the tiles giving the paint a surface it could adherer to. I did two coats of the primer as recommended by Stonelux and the tiles covered really well straight away.
Then I painted on three coats of Lamport, you can see the fireplace after each coat below…
First coat
Second coat 
Third coat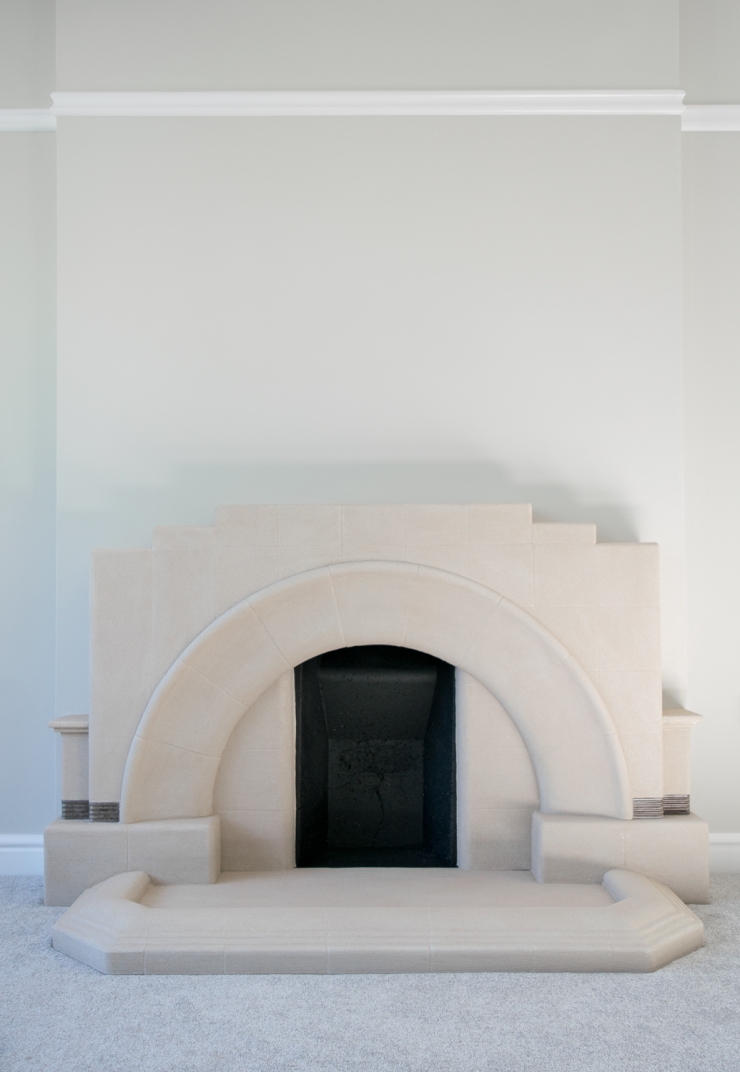
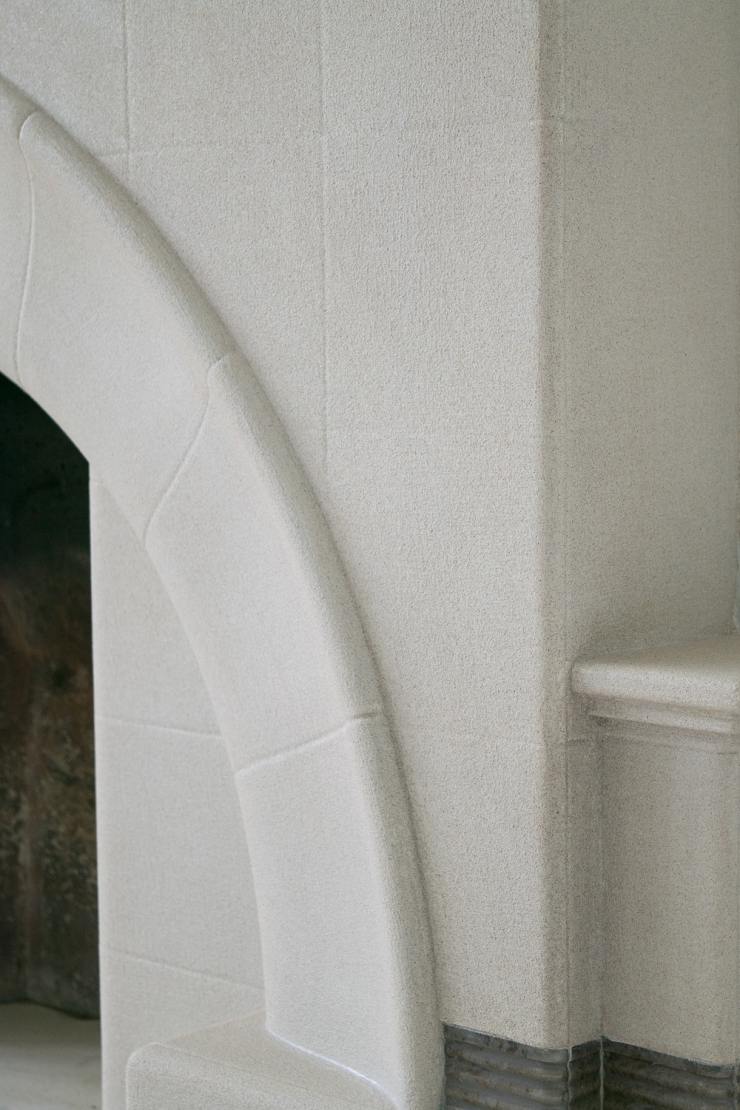

On the final coat I was careful to brush very lightly as a finishing stroke to minimise any brush lines. There will always be some irregularity with the paint finish as you cannot fully control how the stone grains will settle, but this all adds to the natural look.
To finish it off I used some matt black paint to tidy up the inside of the fireplace. This will not be a working fireplace so normal black emulsion was fine. However, if it were a working fireplace you would need something more appropriate.
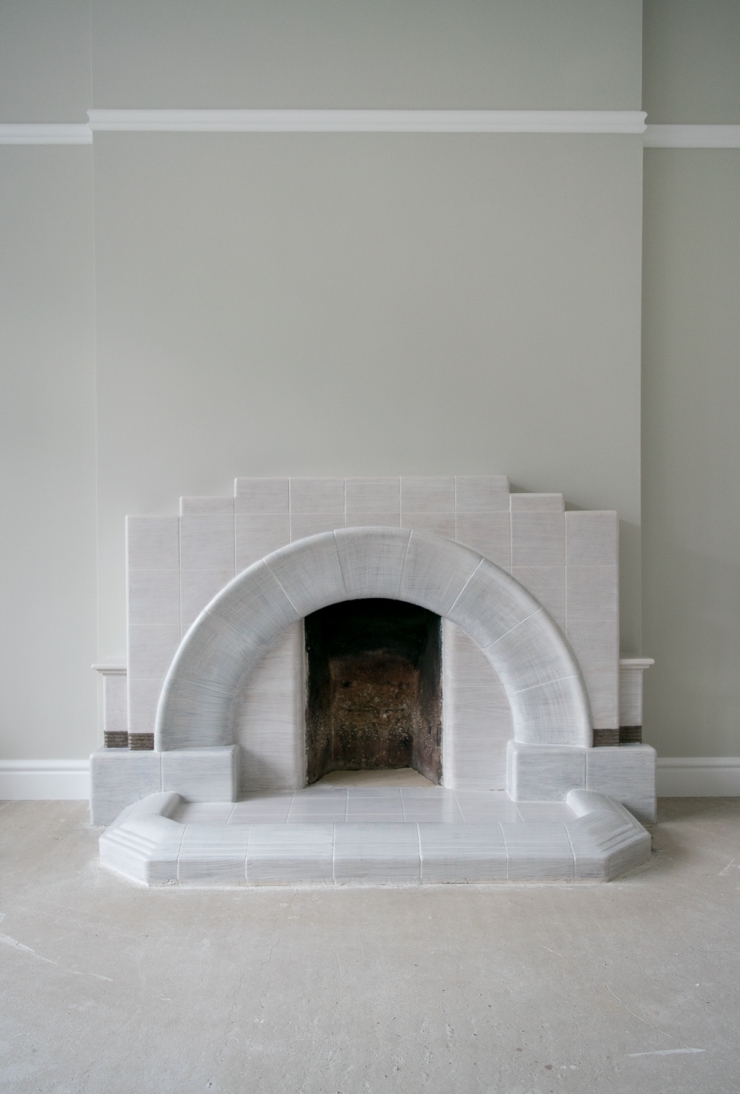
And here are the results! What do you think?
Before
After
The most quick, easy and budget friendly way to modernise any old fireplace.
Rebecca x

Absolutely amazing! What a transformation Bec. The effect of the paint is so natural and will enhance the warm presence the fireplaces had previously brought to the room I’m sure. I can’t wait to actually see them. X
LikeLike